CAD Detailer at GES · Production detailing & exhibit fabrication design · Pensacola, FL
I turn designs into parts a shop can cut and build.
Production detailing, CNC programming and show audits at GES. Before that, shelter design at ESC Spectrum and three years running my own steel parts shop.
 Sign-in required
Exhibit detailing and fabrication
Detail sets, CNC builds and show audits.
Sign in to view →Product design and fabrication
24 bolt-on parts, designed and built start to finish.
View the product line →GES project work is shown to approved viewers. To request access, email mason@masongosselin.com.
The path
- 2024–nowDetail setsCNC buildsShow audits
GES · CAD Detailer: production detailing, CNC programming, show audits
- 2024
Pensacola State College · A.S., Mechanical Design and Fabrication
- 2023–2024
ESC Spectrum · AutoCAD Designer, CEMS and protective shelters
- 2020–2023See the parts
GOSSFAB LLC · My own shop, wholesale parts supplier
- 2020–2021See the parts
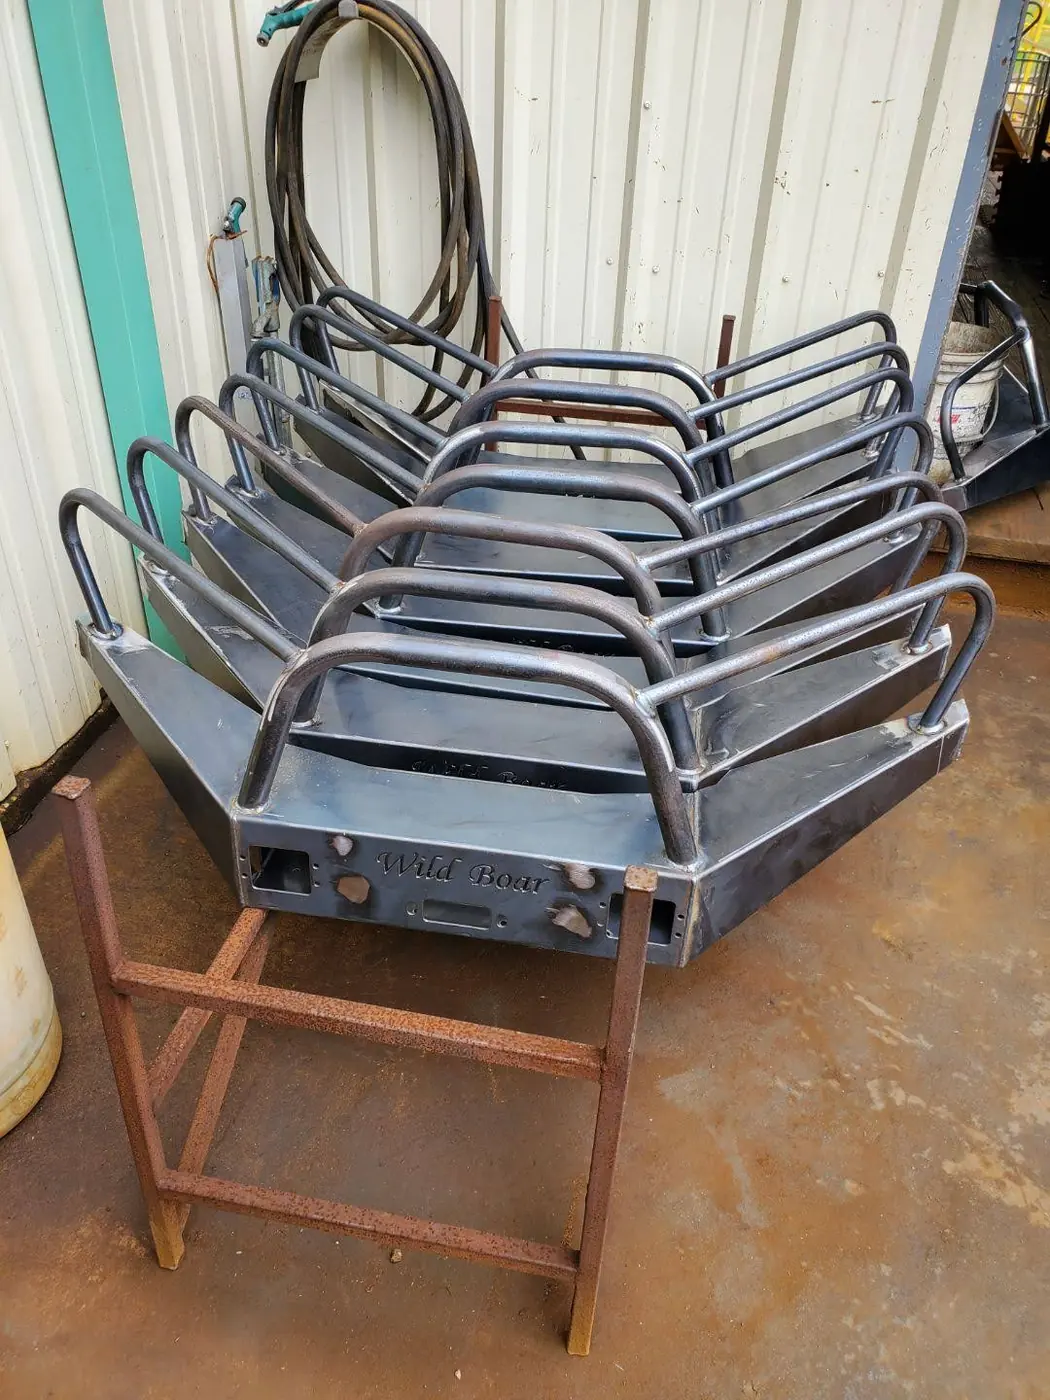
Quality Assurance Machining & Design · Mechanical Designer and Fabricator, building parts supplied wholesale to Wild Boar
Skills
- Exhibit fabrication
- Custom ply construction drawings · Exploded assembly sheets · CNC router nesting and programming · Curved work in bending ply · Show floor audits and recommendations
- Design and CAD
- AutoCAD production detailing · Flat patterns and bend allowance · Design for manufacturability · Modular frame system detailing · Drawing standards and SOPs
- Metal fabrication
- CNC plasma, 4'×8' servo table · Mastercam and nesting · Manual press brake forming with backstop jigs and bend pages · Welding and fixturing · Powder coat prep and vendor coordination
- Running the business
- Product development with a customer · Concept to market as a wholesale supplier · Costing, pricing and quoting · Production scheduling
GOSSFAB LLC · Fabrication & design · 2020–2023
24 bolt-on parts for Honda ATVs and side-by-sides, designed and built start to finish.
My own shop. Developed with the owner of HondaBoats, later Vessel Powersports, and supplied wholesale for nearly three years. I drew it, programmed it, cut it, formed it, finished it and delivered it.
- Parts designed and produced
- 24 SKUs
- Wholesale supplier
- 2020–2023
- Cutting tolerance
- ±0.005"
- Order to delivery
- 1–2 weeks
The catalog as it went out. Select any part to jump to it.
The problem
Honda mounts the radiator low, behind the front plastics. In Gulf Coast mud the core packs solid within minutes and the machine overheats in water it could have crossed all day.
The fix is a one-piece formed bracket that moves the radiator up onto the front rack. The rest of the catalog grew from that bracket, in one design language and one finish, so parts bought a year apart still match on the same machine.
The catalog
- Radiator relocation
- Headlight brackets
- Lift kits
- Crush Lock wheels
- Rear light kits
- Wheel well lighting
- Bumper plates
- Foot peg delete
- Rebrand
Radiator relocation
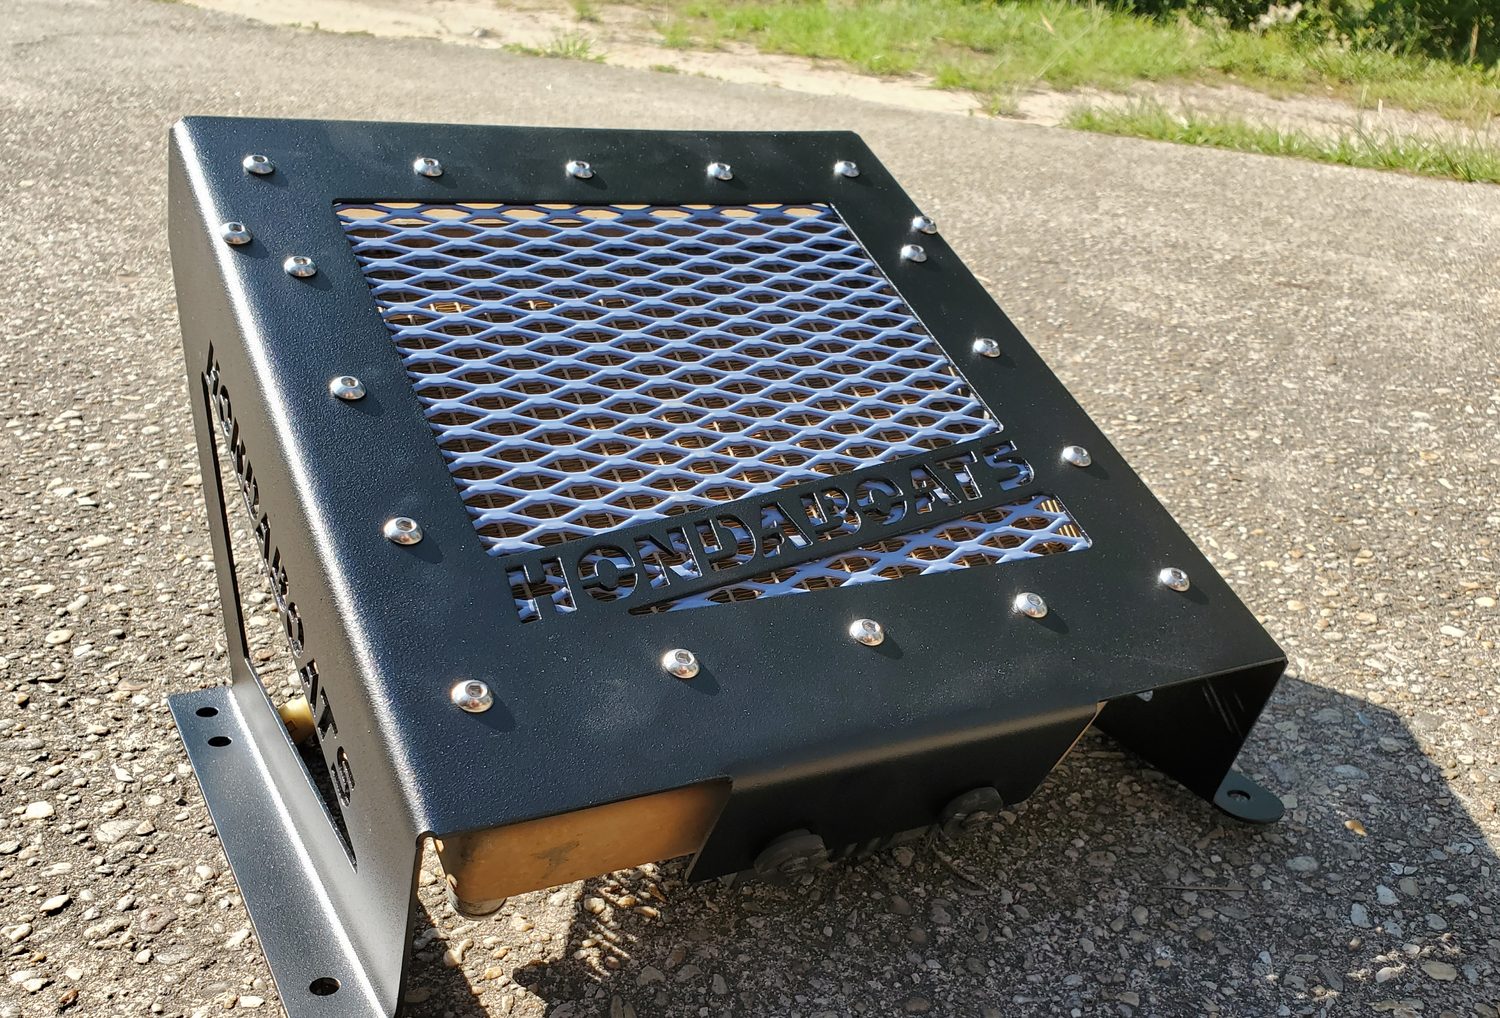
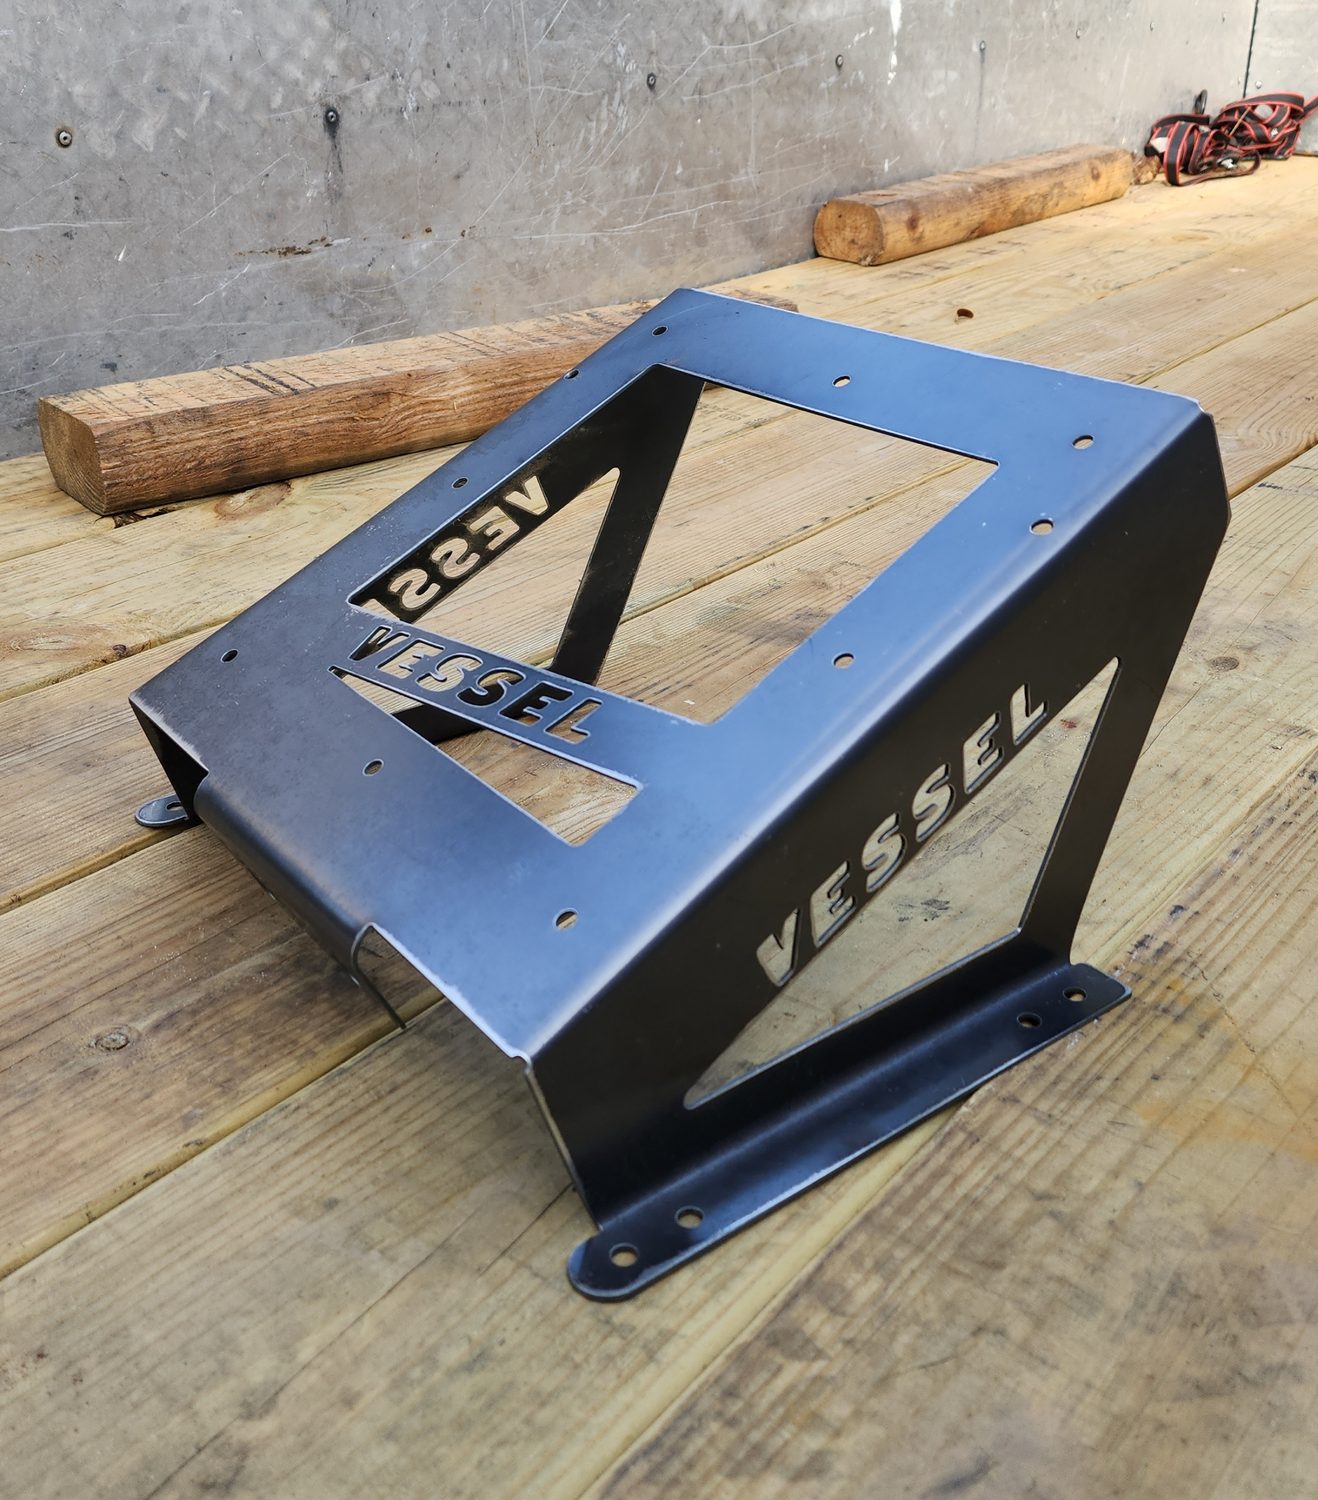
The part everything started fromCarries the factory radiator up onto the front rack, out of the mud. One formed piece instead of a welded assembly.
Design notes
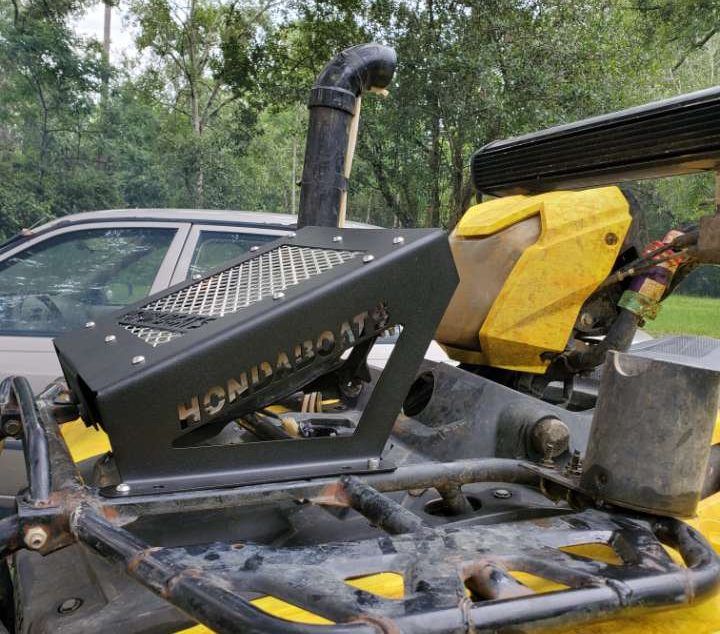
With no welds there is no weld distortion to fight and nothing to crack when the rack flexes. The opening is sized to the core, and the mounting hole pattern is laid out to the rack so the bracket sits square. Everything else up front hangs off it. The center snorkel bracket and the light bar mount both land on holes already in the bracket, so adding either takes no new drilling.
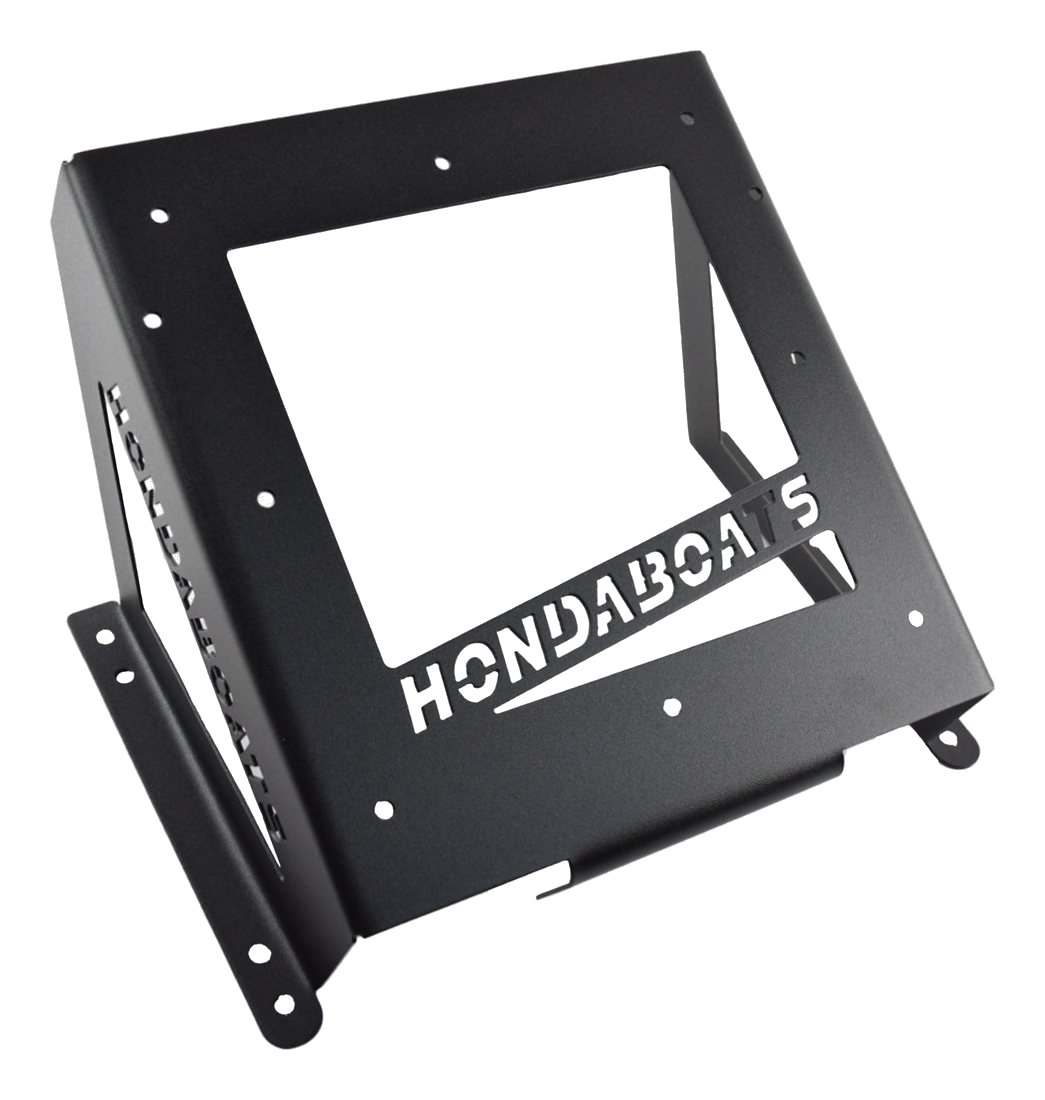 200-219Radiator relocation bracket
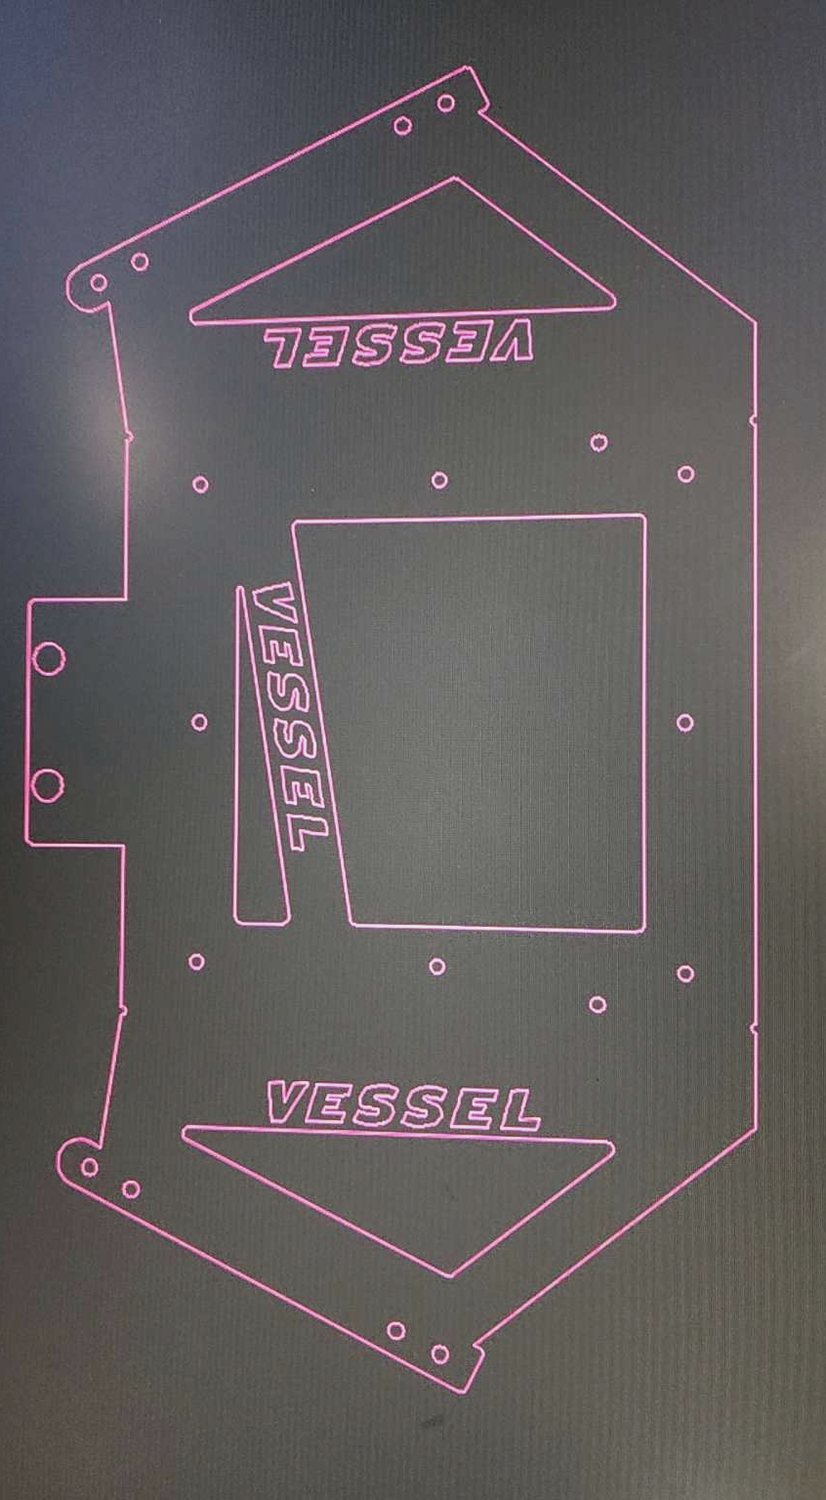
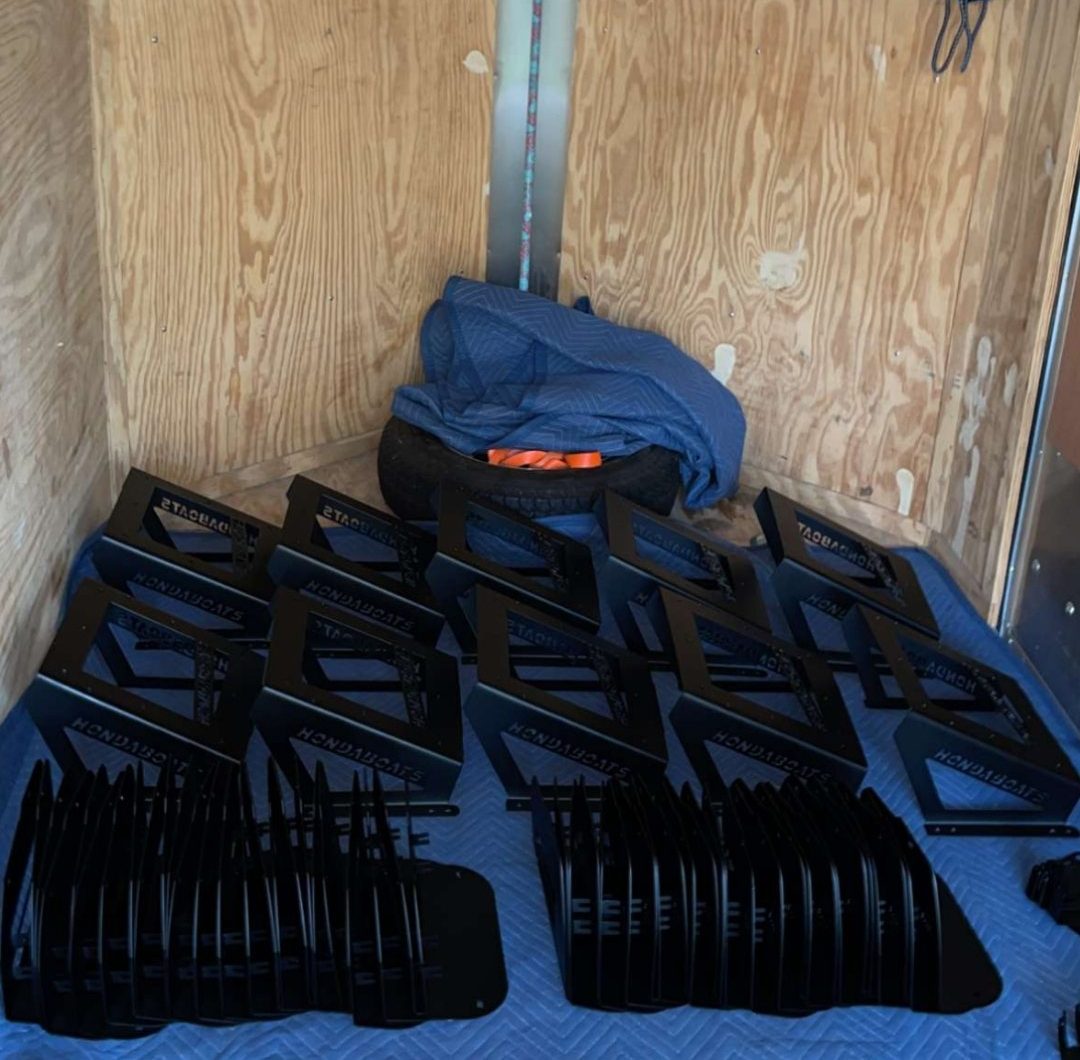
Largest part in the catalog. Multi-bend, one piece, with the brand cut into two faces where the openings cost nothing in stiffness.
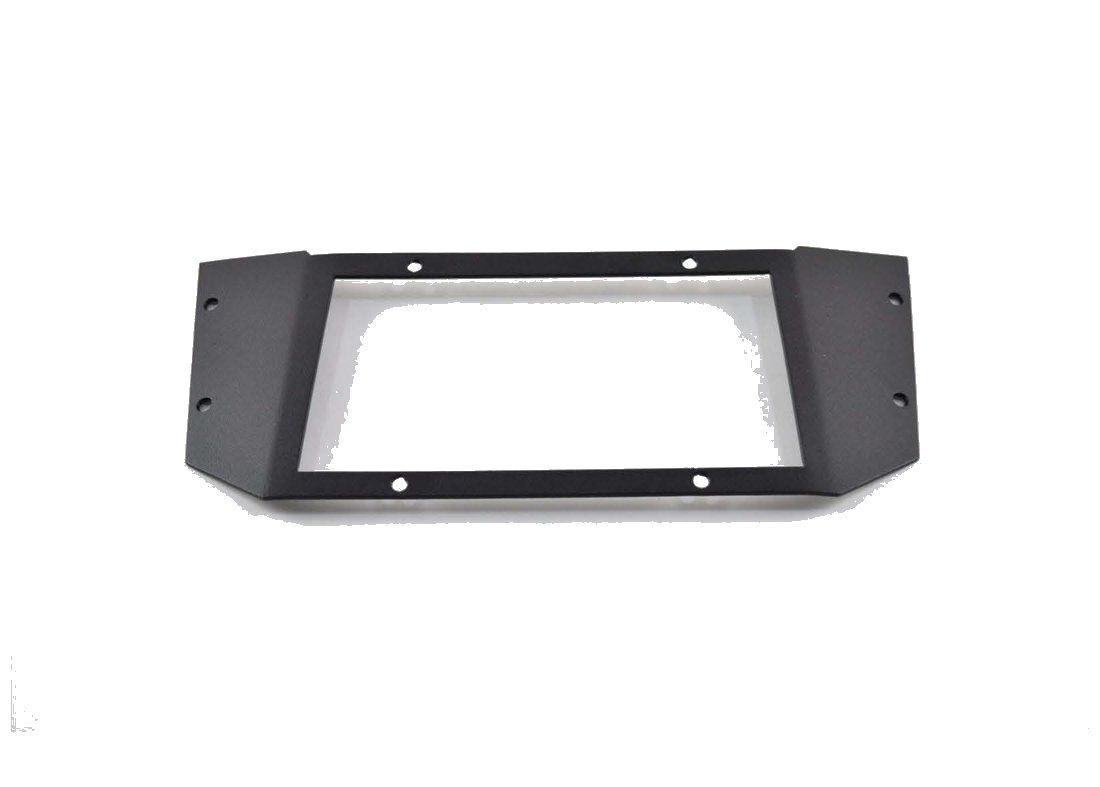 200-218Low profile bracket
Slimmer variant. Angled wings pick up the rack rails and the opening stays square to the core.
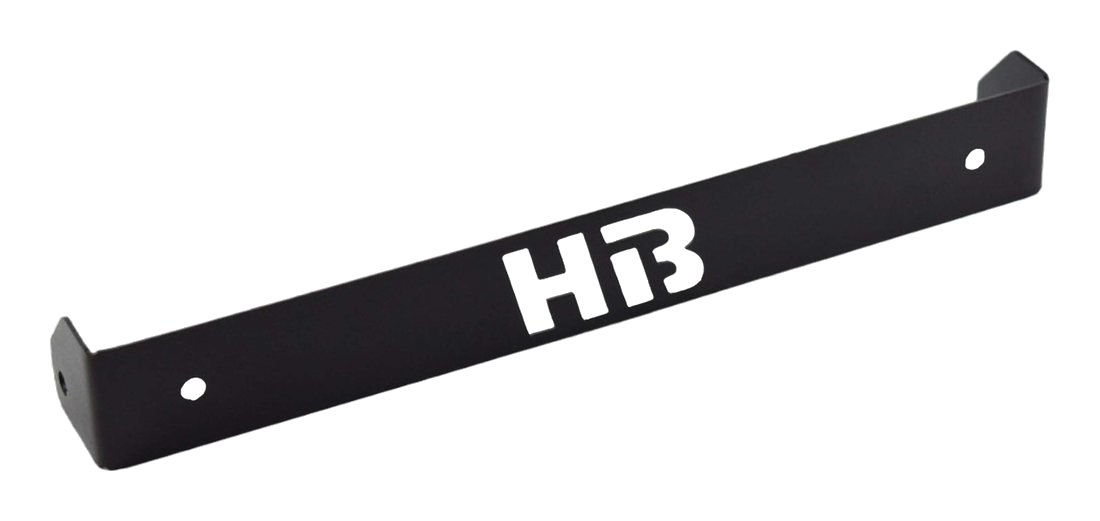 200-216Light bar mount
Mounts a light bar across the front top edge of the relocation bracket. End flange bolts to holes already in the kit.
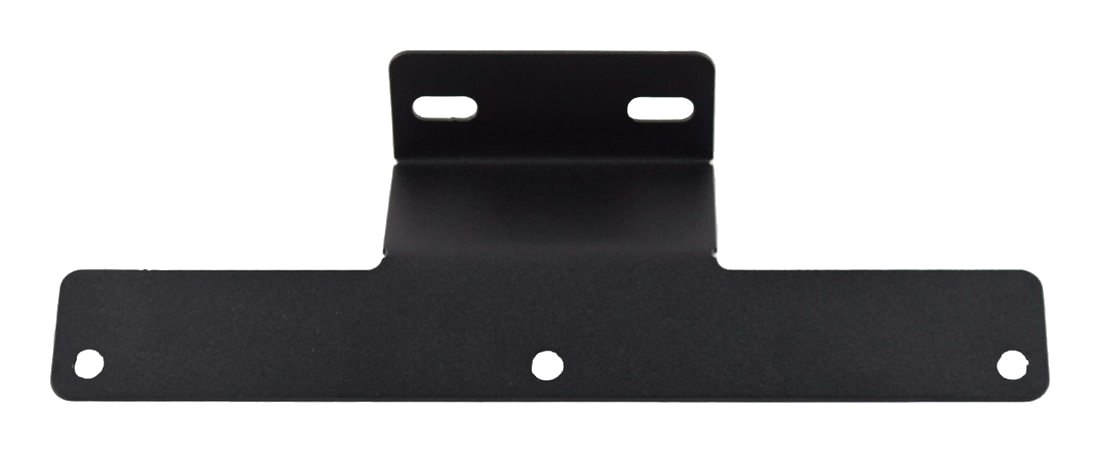 200-215Center snorkel bracket
Carries a center snorkel off the relocation bracket. Bolts to holes already in the kit, so no drilling to add it later.
Headlight brackets
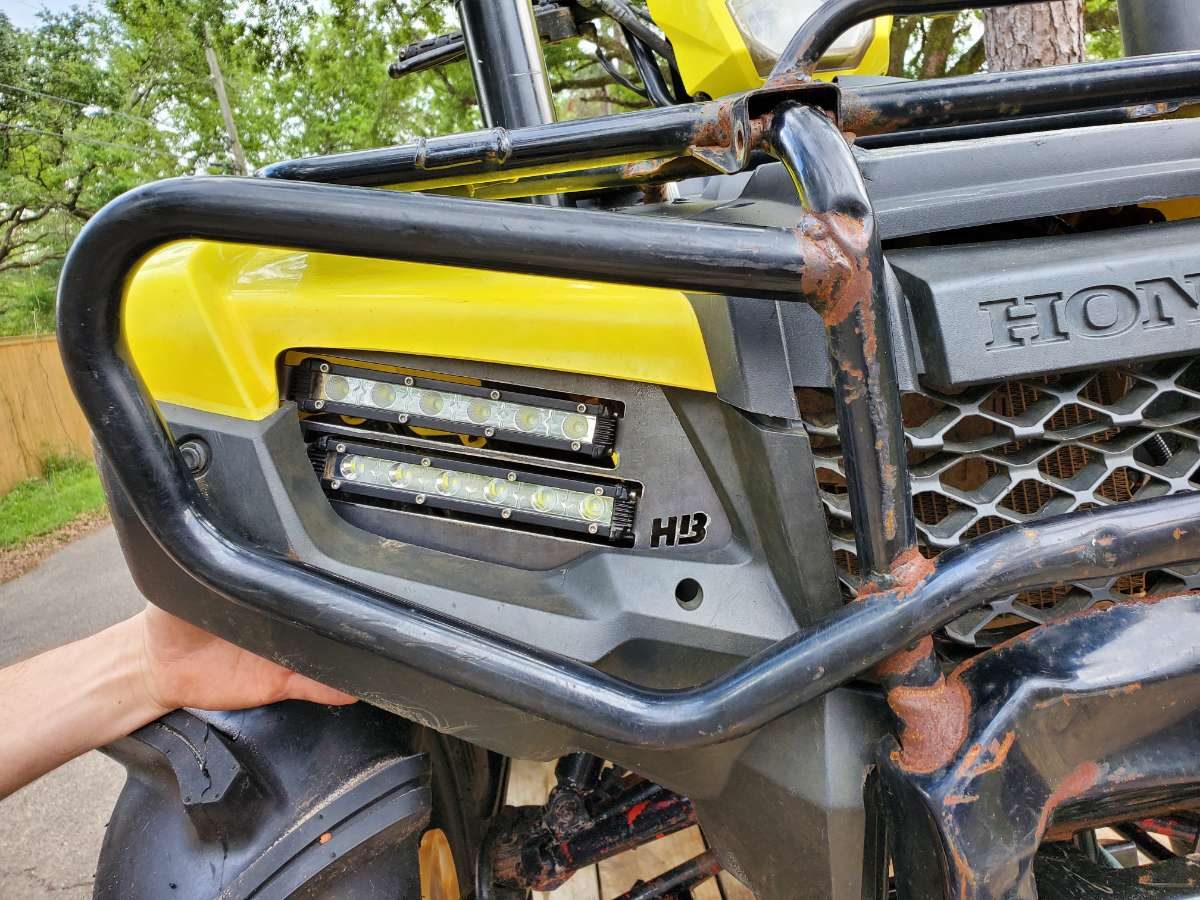
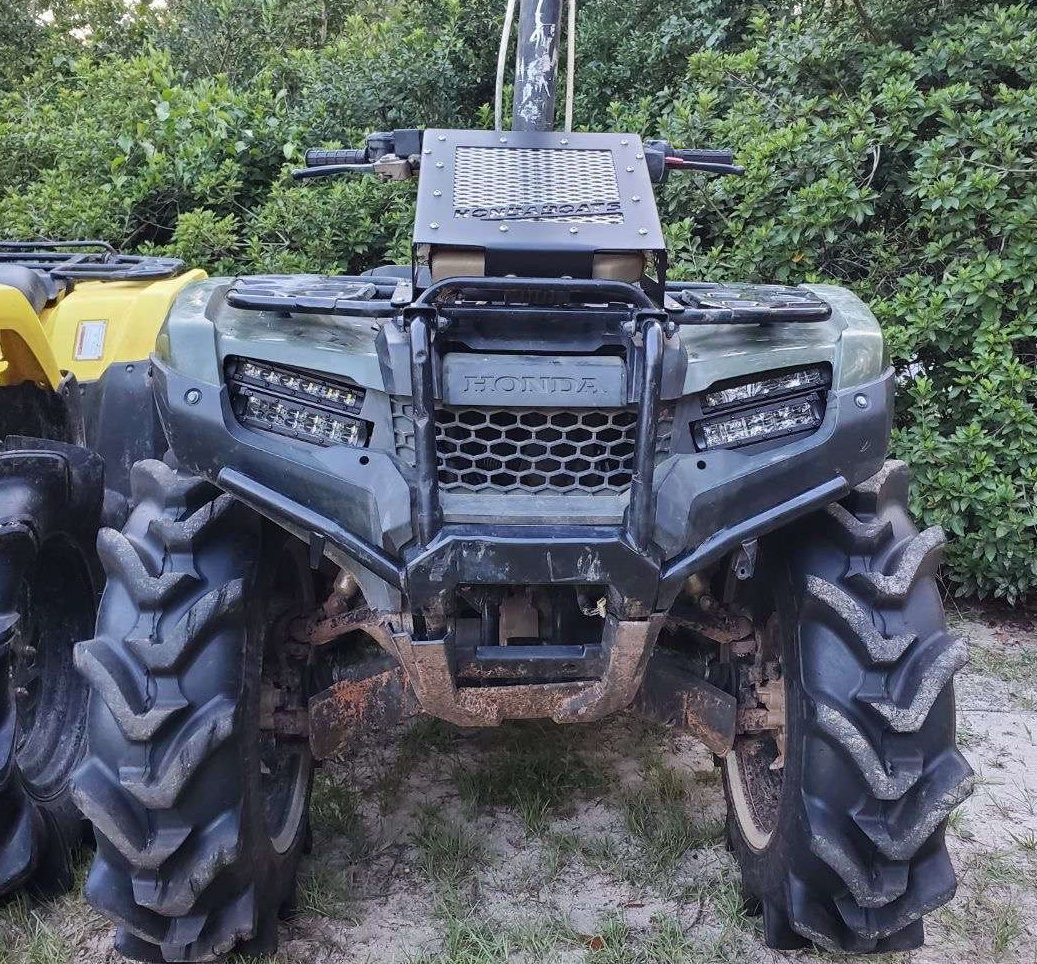
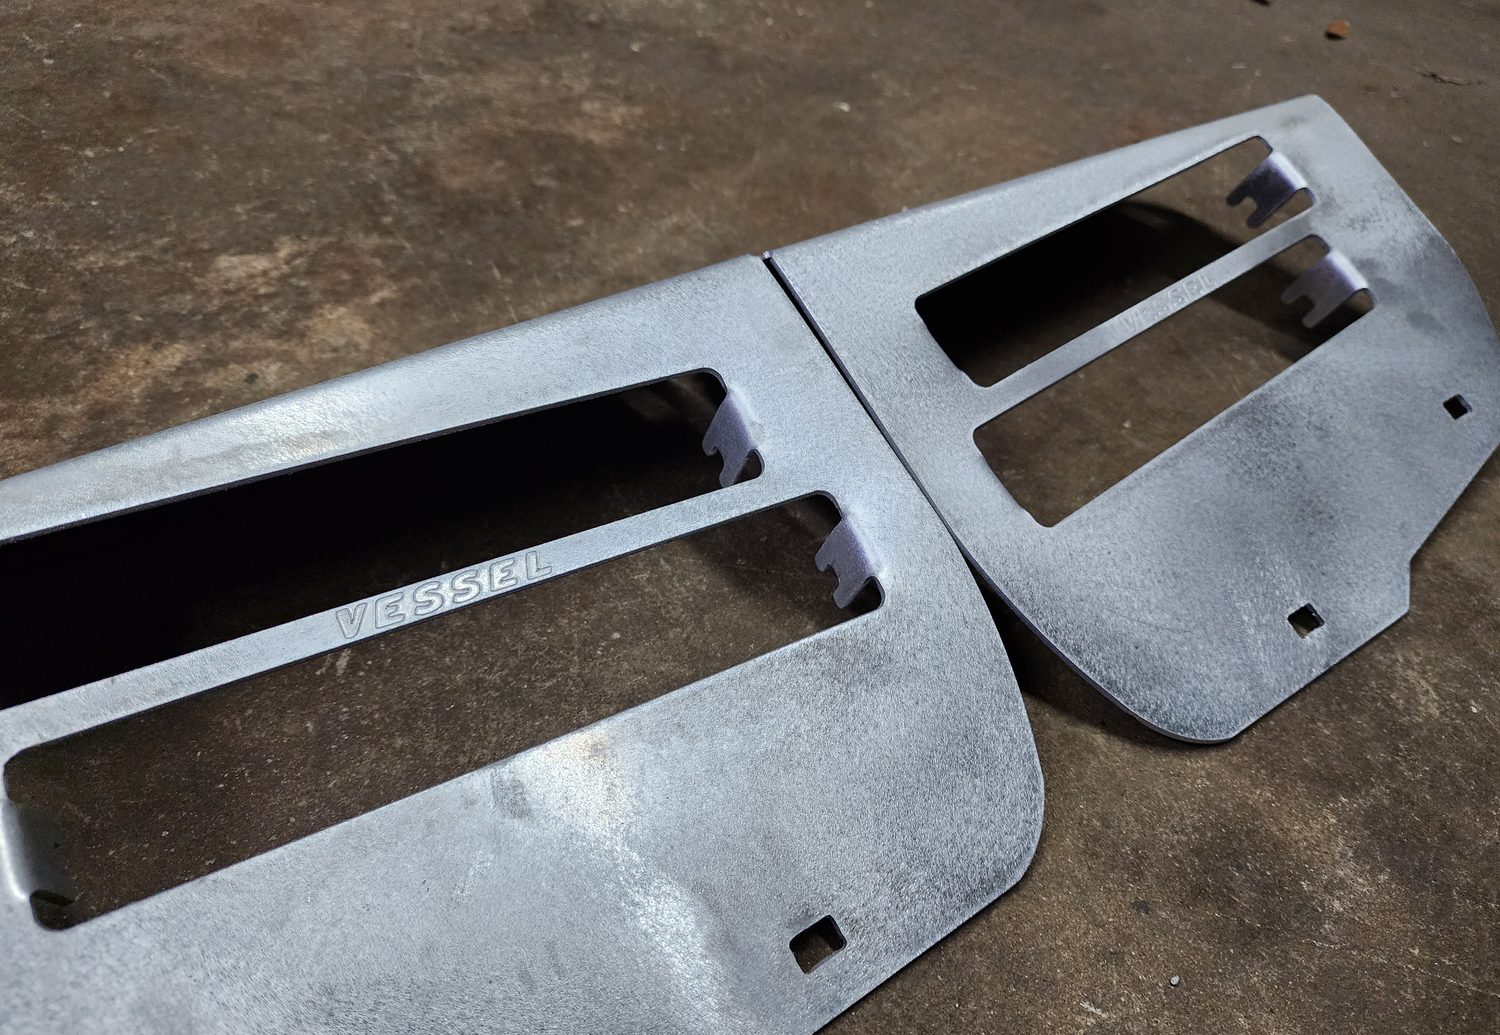
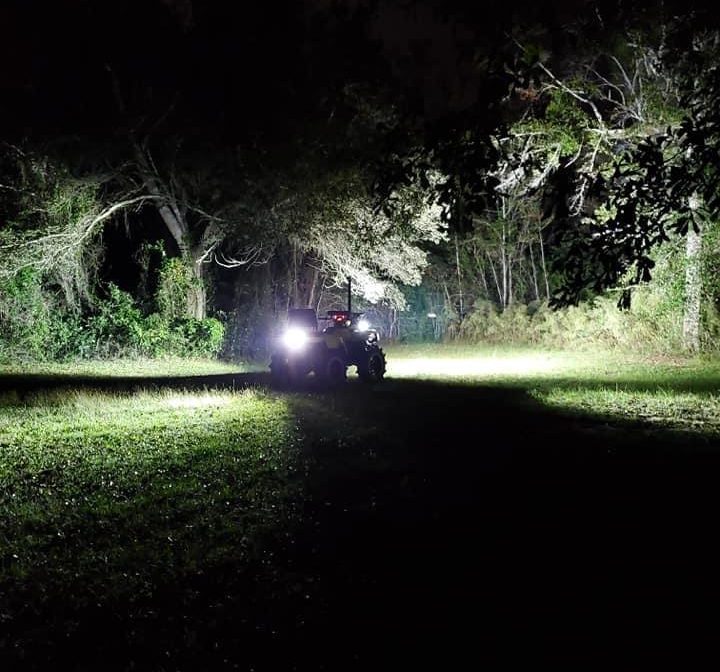
Handed pairs, ATV and SxS fitmentsSlim LED bars in place of the factory headlights. Nobody was selling a bracket for it on these machines, so I drew one, proved the fit and put it into production.
Design notes
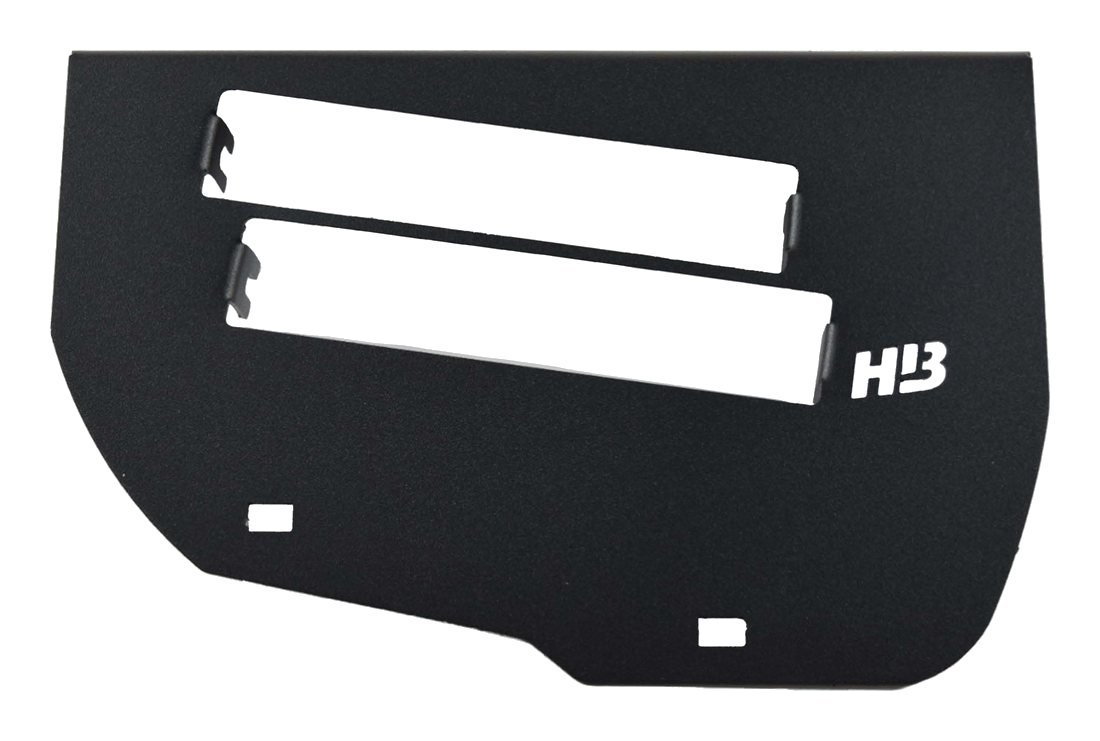
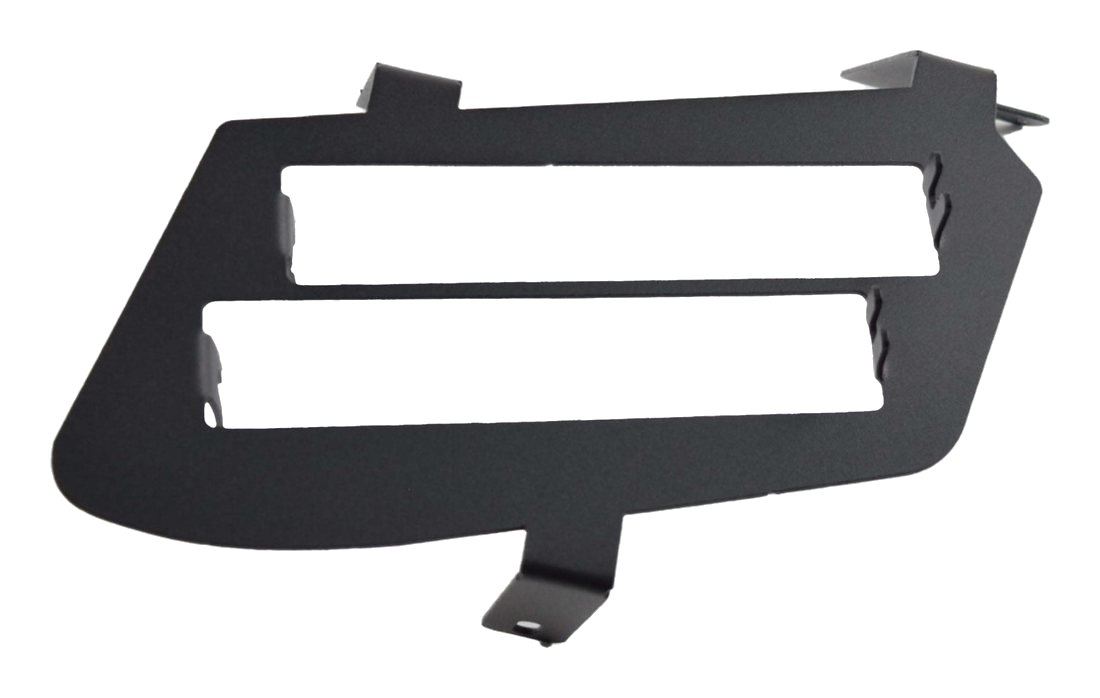
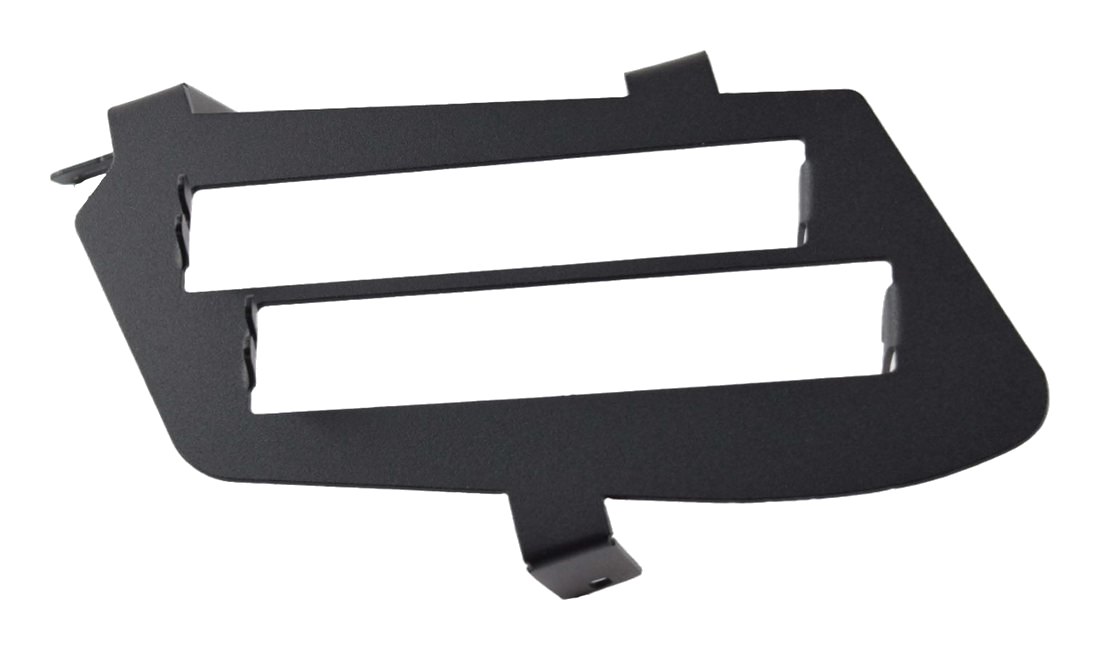
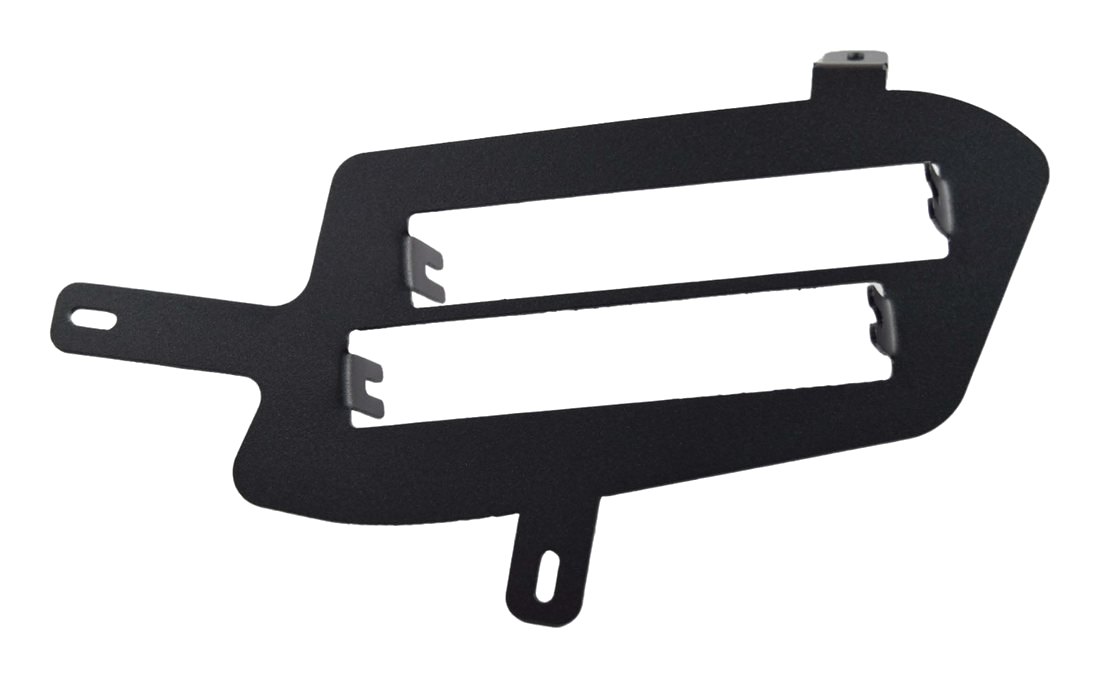
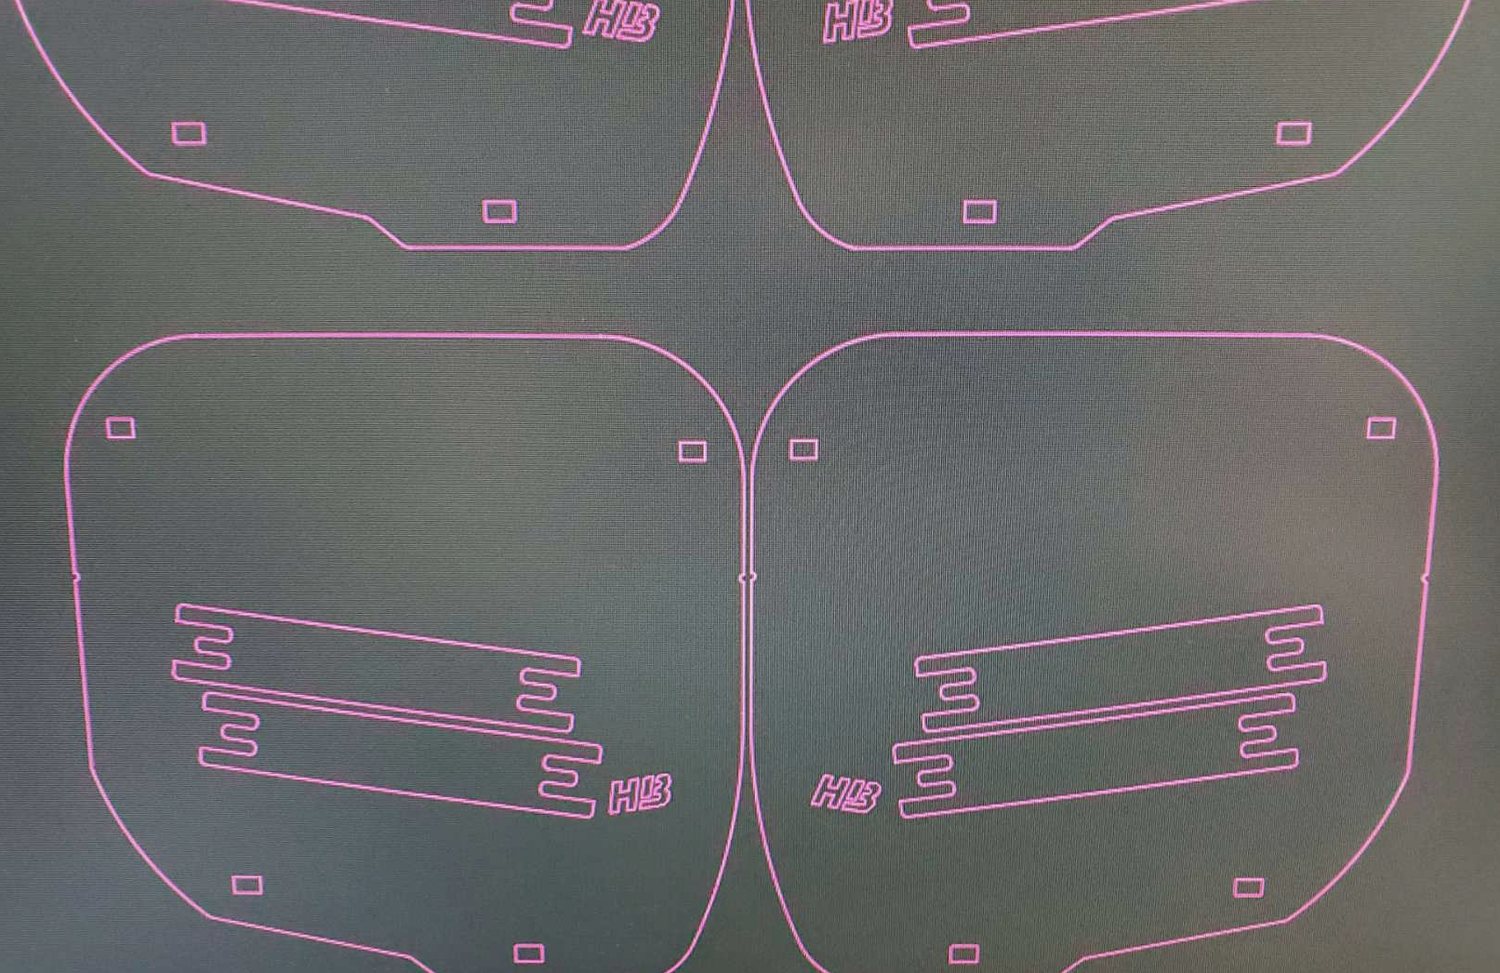
Each bracket holds two bars in retention slots with formed tabs that trap the bar directly, which makes it one piece instead of a plate plus separate clamps. Left and right are cut from the same sheet as one job, so the two halves stay identical.
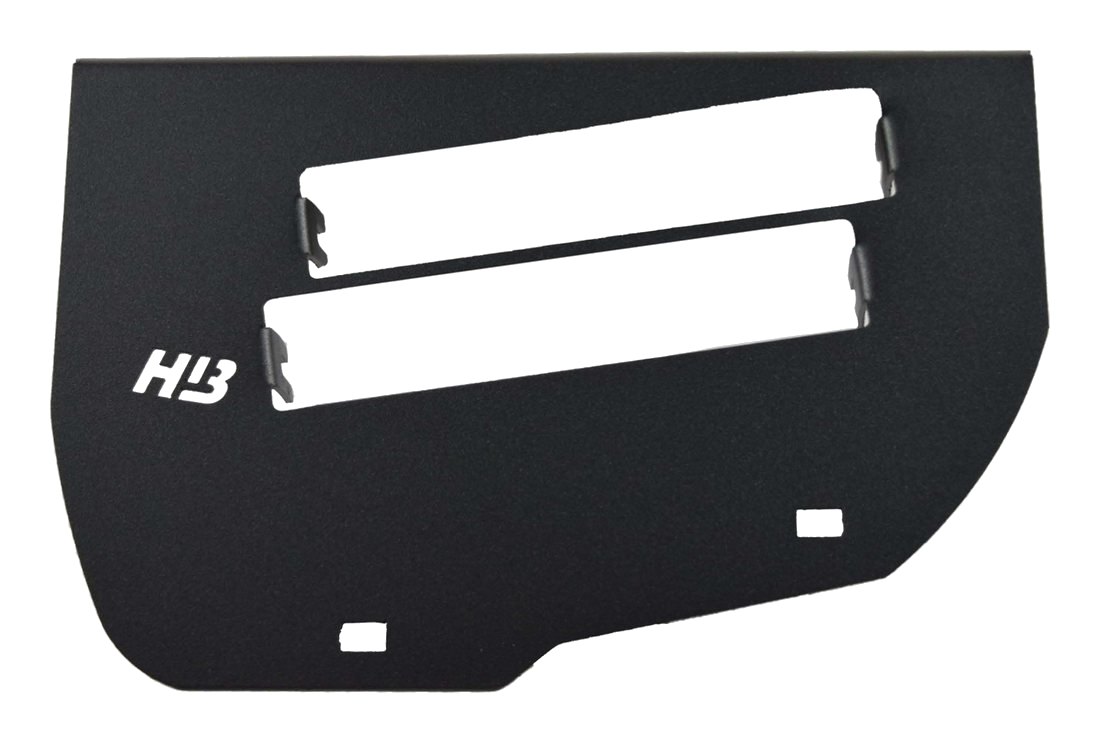 200-200ATV bracket, LH
Flat face view. Two retention slots with formed tabs, brand mark cut into the face.
 200-201ATV bracket, RH
Mirror of 200-200, nested on the same sheet.
 200-202SxS bracket, LH
Shown formed. Tabs top and bottom locate it against the factory mounting points.
 200-203SxS bracket, RH
Mirror of 200-202.
 200-204SxS second fitment, LH
A second SxS. Different outline and mounting points, same two-bar layout.
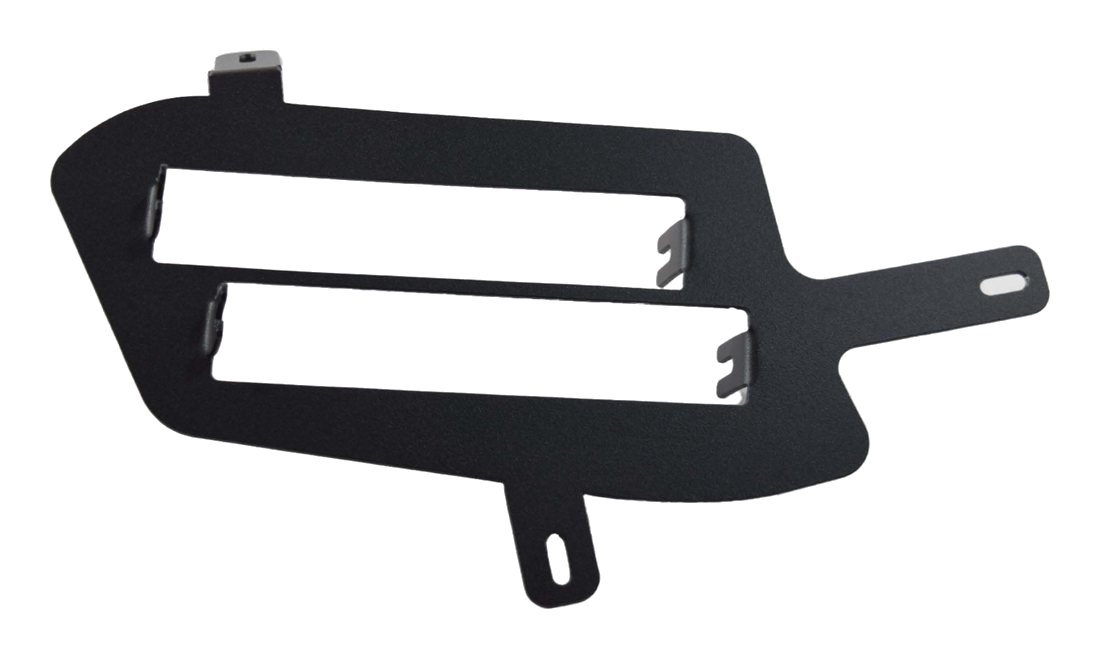 200-205SxS second fitment, RH
Mirror of 200-204. The slotted arm takes up variation at install.
Lift kits
Two rear ends, two kitsA two-inch lift in two versions, one for each rear end. Shipped as complete kits with every bracket and the stainless hardware to install it.
Design notes
Front and rear brackets in 3/16" steel, plus sleeves that carry load across the factory shock tower so it does not distort under the new geometry. Both versions share the same interfaces, so the drawings and the fixturing carried across.
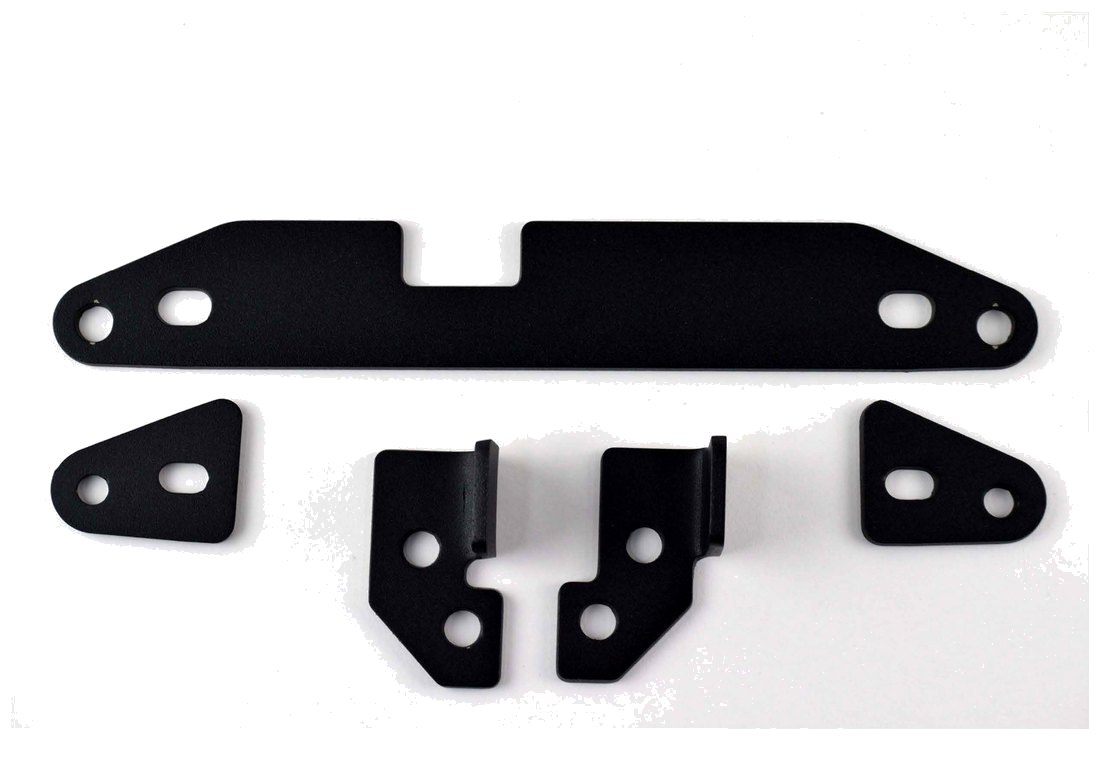 200-225Solid rear axle lift kit
Handed tab brackets and handed formed brackets on one nest, one coating run, one part number.
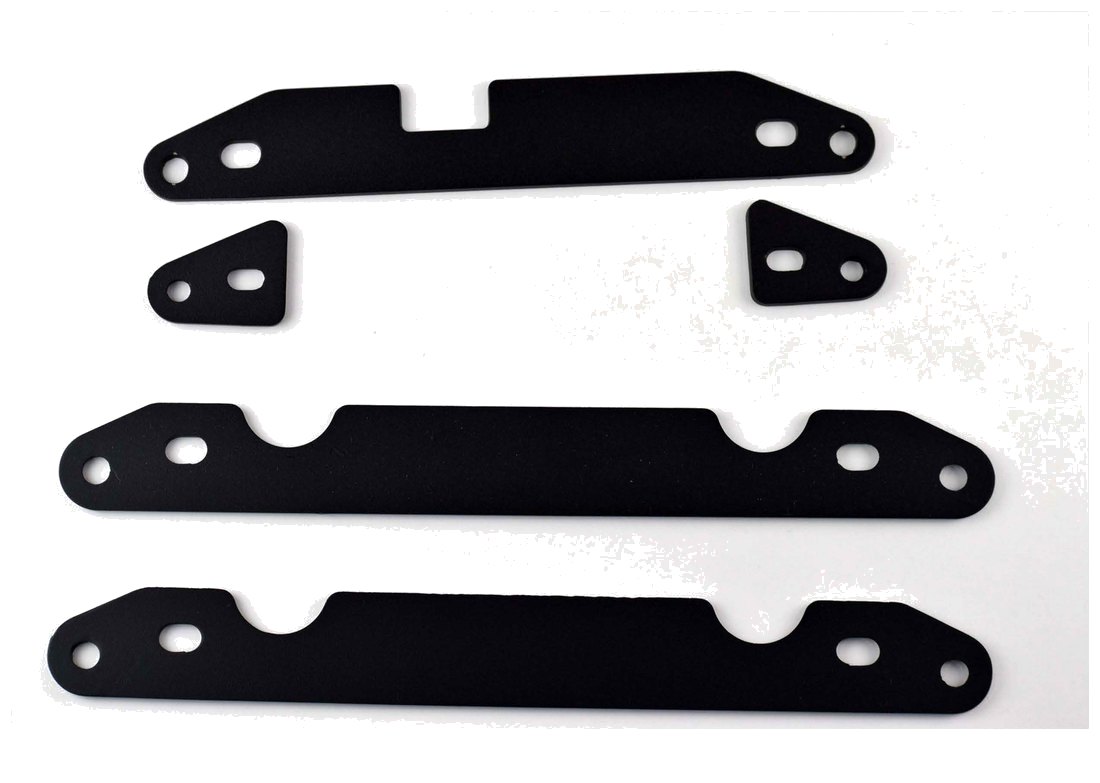 200-226Independent rear suspension lift kit
Same architecture, different bracket profiles, identical interfaces.
Crush Lock wheels
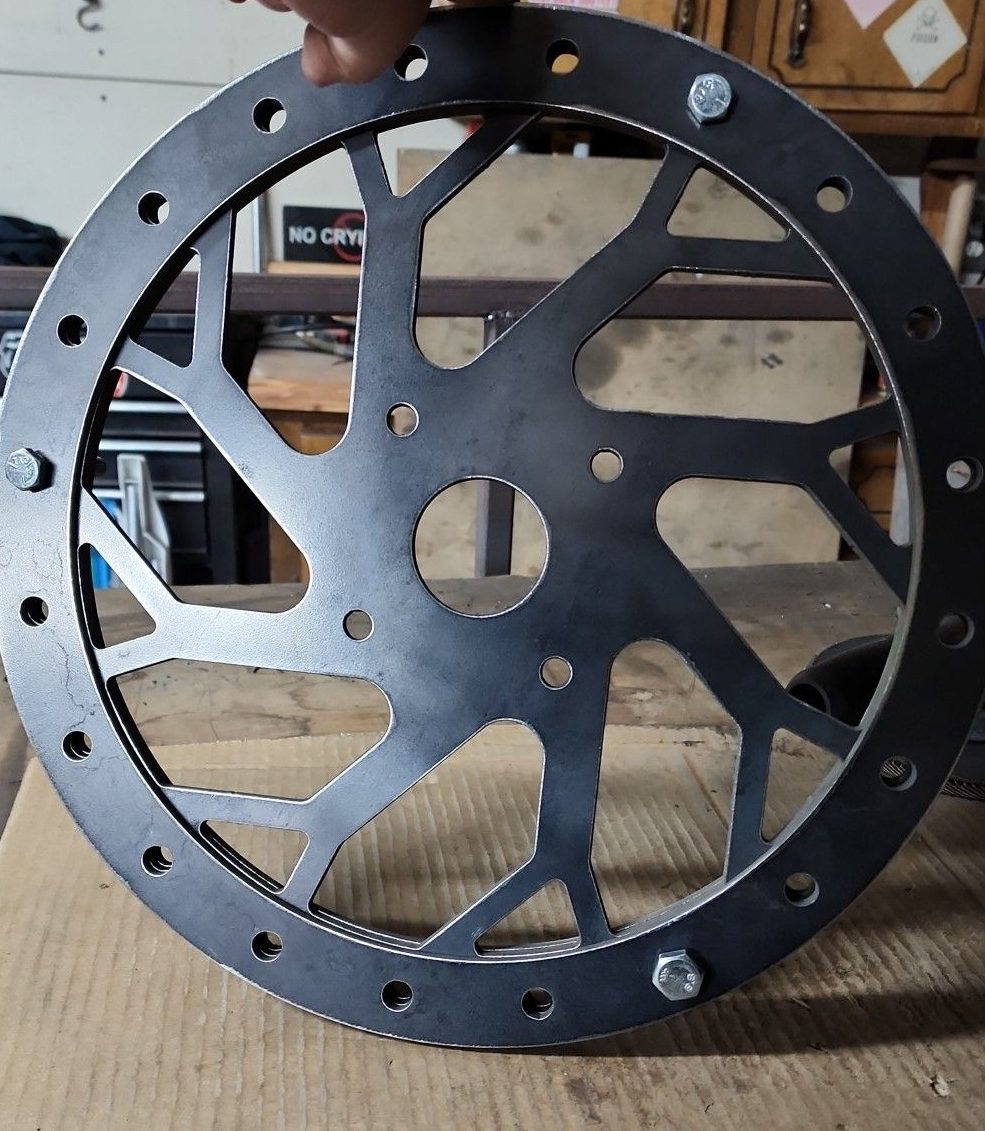
Quarter inch steelA beadlock-style ring in 1/4" steel with a spoke pattern cut through the face. The heaviest part I made and the limit of what the table would cut cleanly.
Design notes
The ring is drilled around the rim to clamp the bead. Thick plate on a plasma table means the kerf opens up and the cut face bevels, so the drawing has to compensate before the torch ever fires.
Rear light kits
Brake lamps plus a reverse barPlates that fill the factory brake light housing and carry LED lamps through the face, with room above for a reverse bar. Two versions, matching the two rear ends.
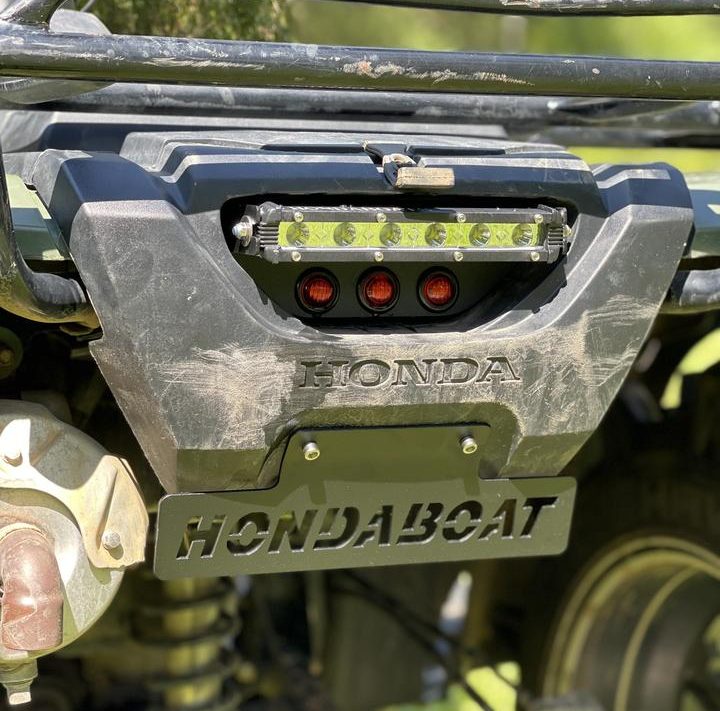
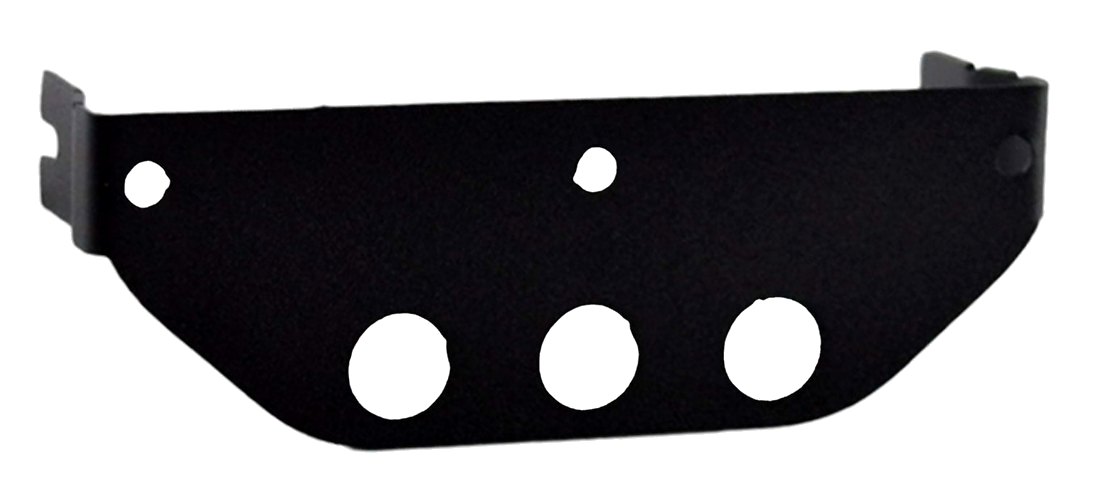 200-221Rear light plate, solid rear axle
Three pop-through openings for the brake lamps, with room above for a reverse bar.
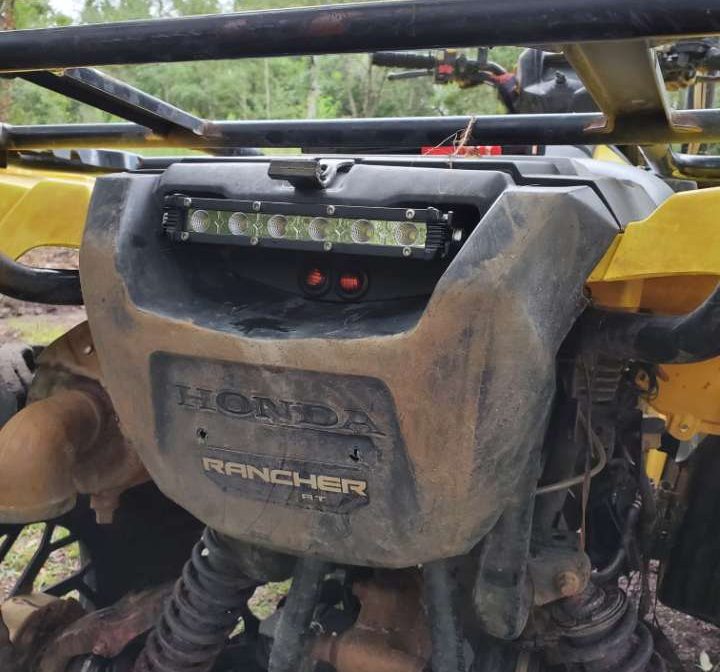
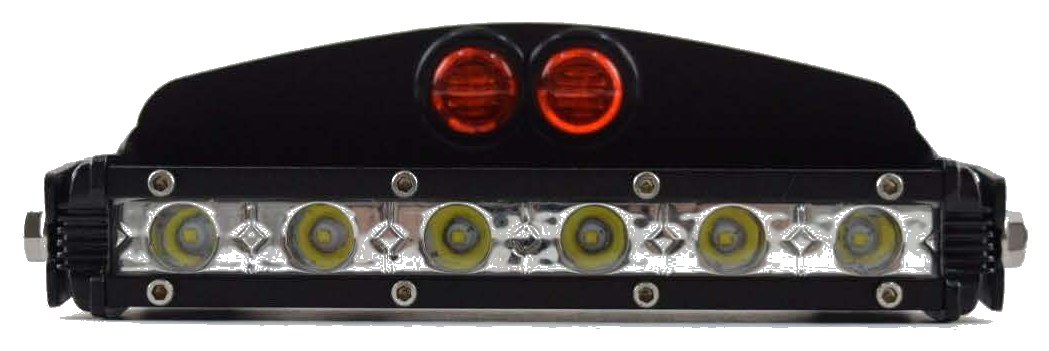 200-220Rear light kit, IRS
The independent rear suspension version assembled: reverse bar with the brake lamps above it.
Wheel well lighting
Mounts off a screw that is already thereAdds light under the fenders without drilling. A stock wheel well screw comes out, the bracket goes in its place, and an LED pod bolts to the slotted arm.
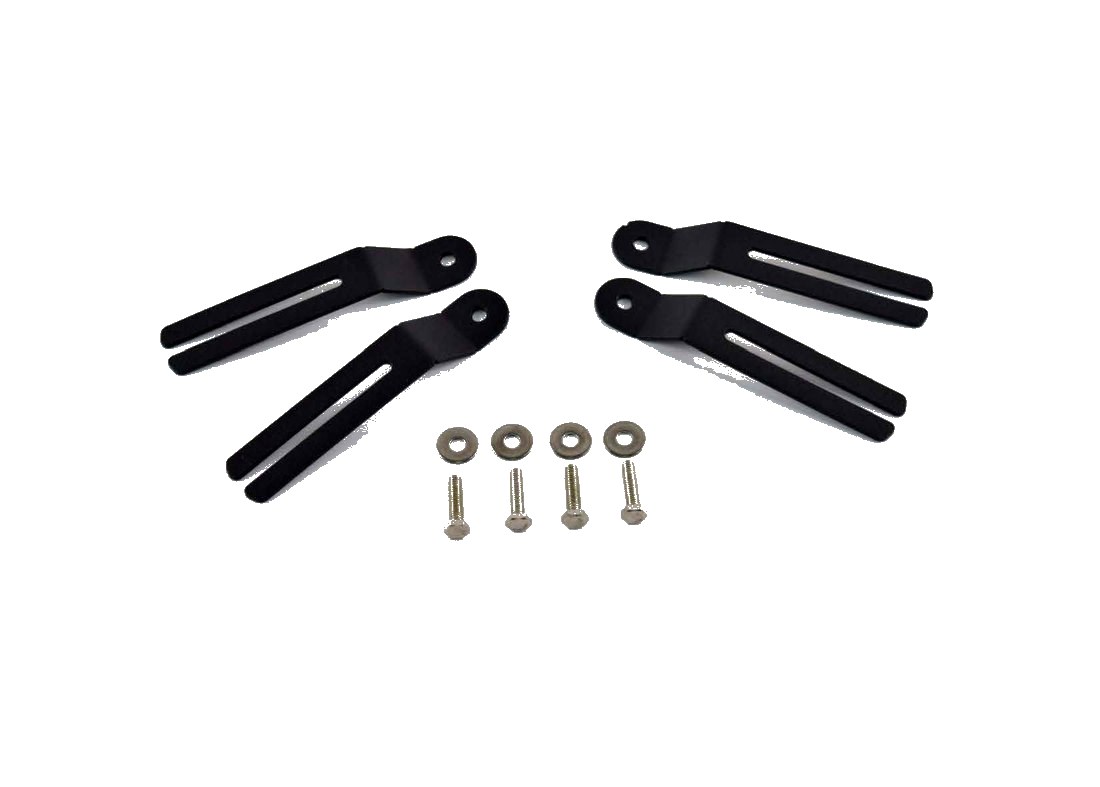 200-222Rock light mounts
Four formed arms with full-length slots for height and angle, supplied with stainless bolts and washers.
Bumper plates
Cut lettering, formed flangeLettering cut through the steel instead of applied as a decal, so nothing peels off. One drawing served the whole family: swap the text, re-nest, cut.
Design notes
The formed flange bolts to the bumper and the plate covers the opening behind it. Closed letters have their centers tied back with bridges, placed to read as part of the type and not as a defect.
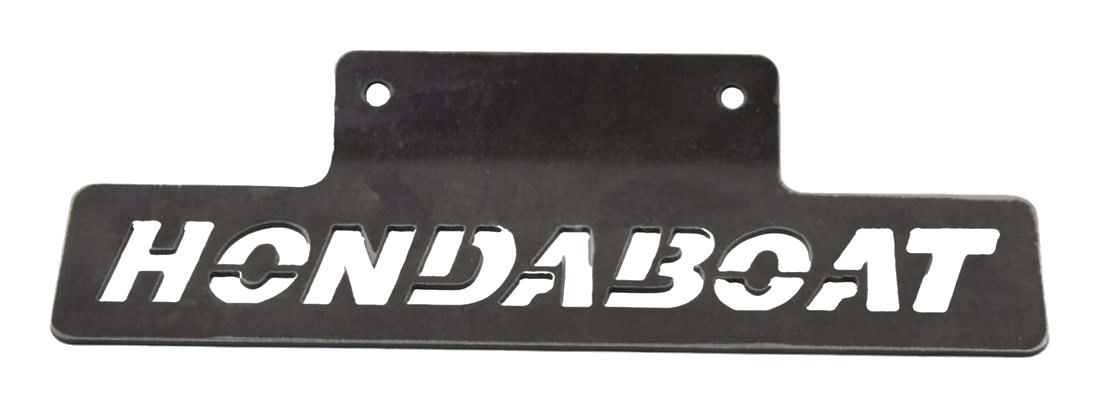 200-207HondaBoat bumper plate
The original. Cut lettering over a formed flange that bolts to the bumper.
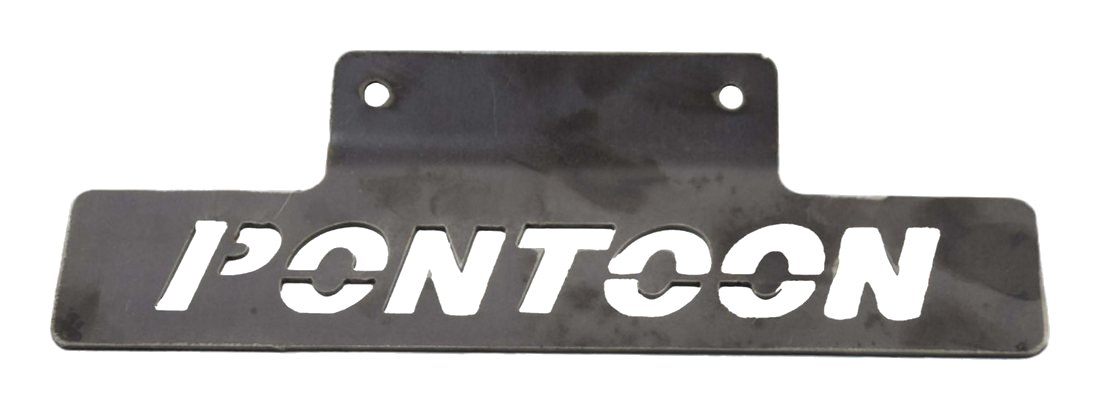 200-209Pontoon bumper plate
Same body, different lettering.
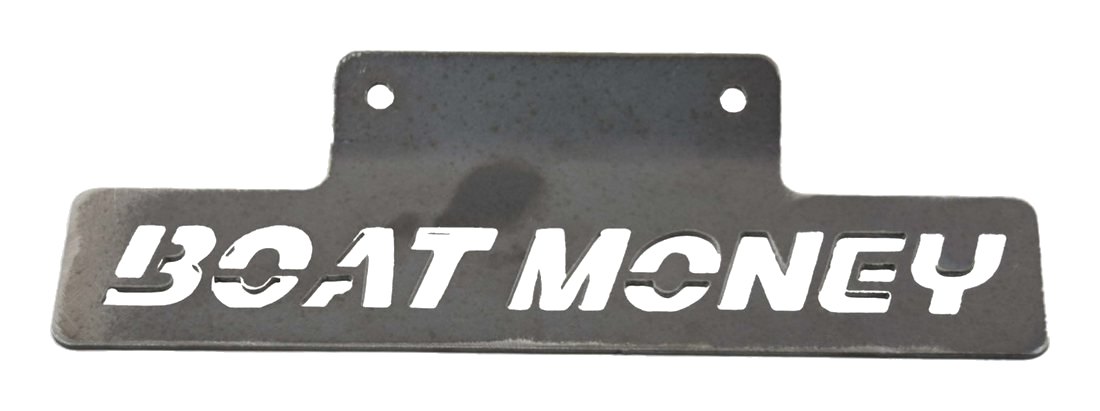 200-206Boat Money bumper plate
Raw mill finish before coating, so the cut edge quality is visible.
Foot peg delete
Solving a problem nobody had addressedThe factory peg uses spikes to bite into a boot, and almost everyone down here rides barefoot. This replaces the spiked peg with a flat plate.
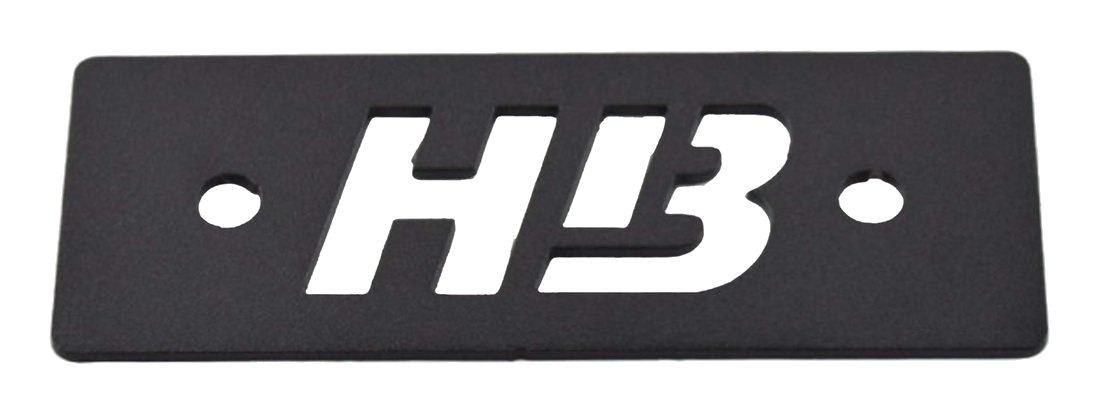 200-217Foot peg delete
Flat plate in place of the spiked factory peg, with the brand cut through the face.
HondaBoats becomes Vessel
Every drawing, re-cutWhen my customer rebranded, I opened every drawing, replaced the mark, re-nested the sheets and re-cut the catalog, because the name is cut or scribed into the metal.
How a part got made
- Step 1
Measure the machine
Every dimension comes off a real machine: rack rails, factory hole centers, hose runs, shroud clearance.
- Step 2
Draw it flat
Modeled in CAD, then unfolded to a flat pattern with bend allowance built in so the formed part lands on dimension.
- Step 3
Nest and cut
Parts nested to share cuts and shrink the drop. Handed pairs come off the same sheet, so left and right can never drift apart.
- Step 4
Form and finish
Brake-formed, deburred and prepped, then out to my coater for textured black. I specified the finish and owned the prep.
- Step 5
Fit and deliver
First article bolted to a machine before the run went out, and fixes went back into the file. Finished runs were delivered to the customer’s shop.
Quality Assurance Machining & Design · Mechanical Designer / Fabricator · 2020–2021
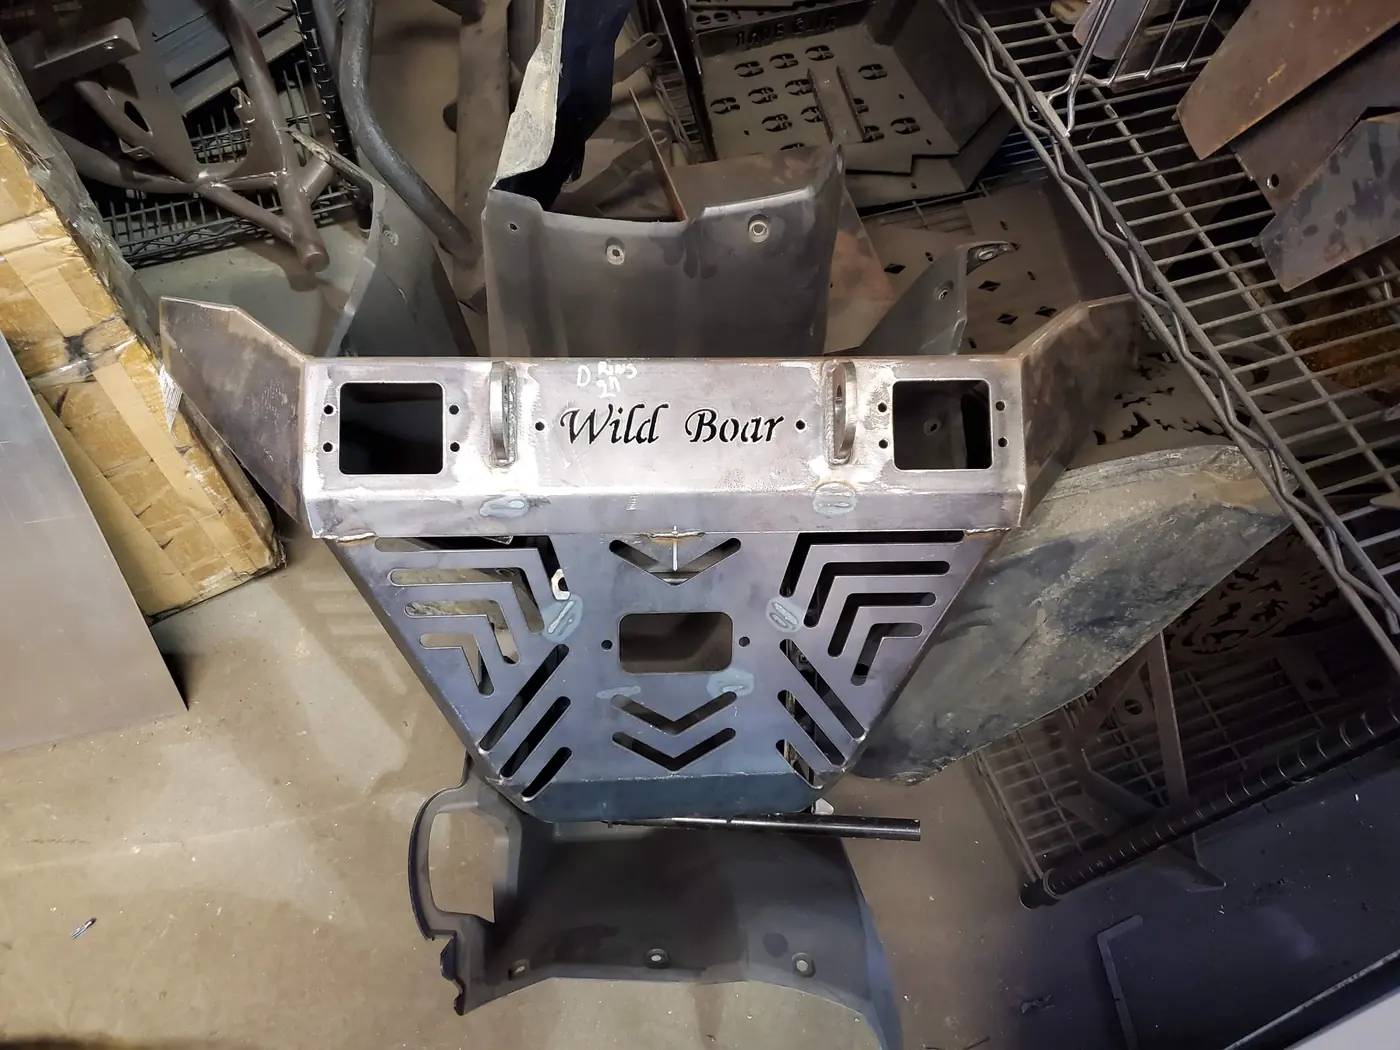
Wholesale ATV parts, built at scale for the Wild Boar brand.
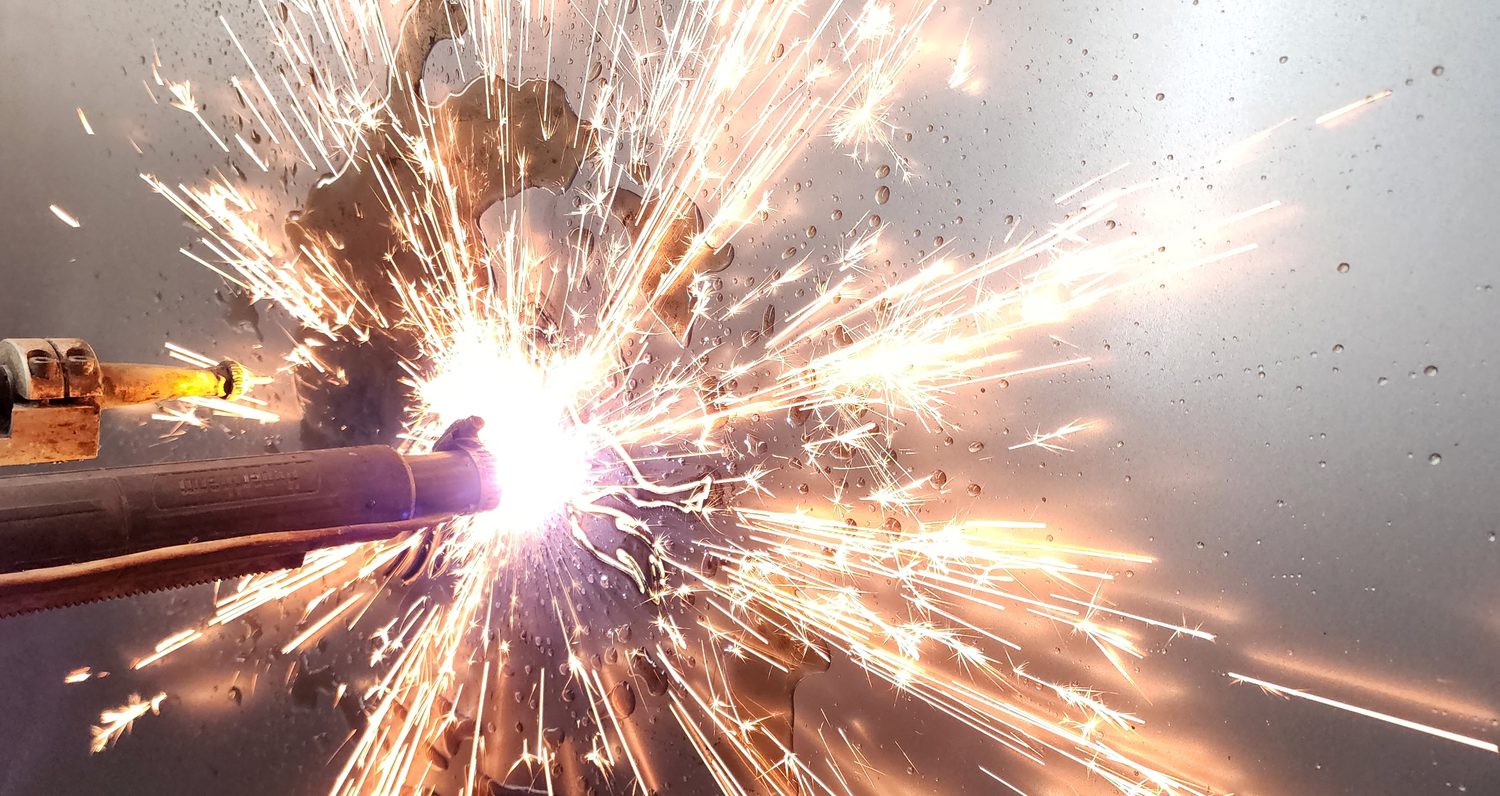
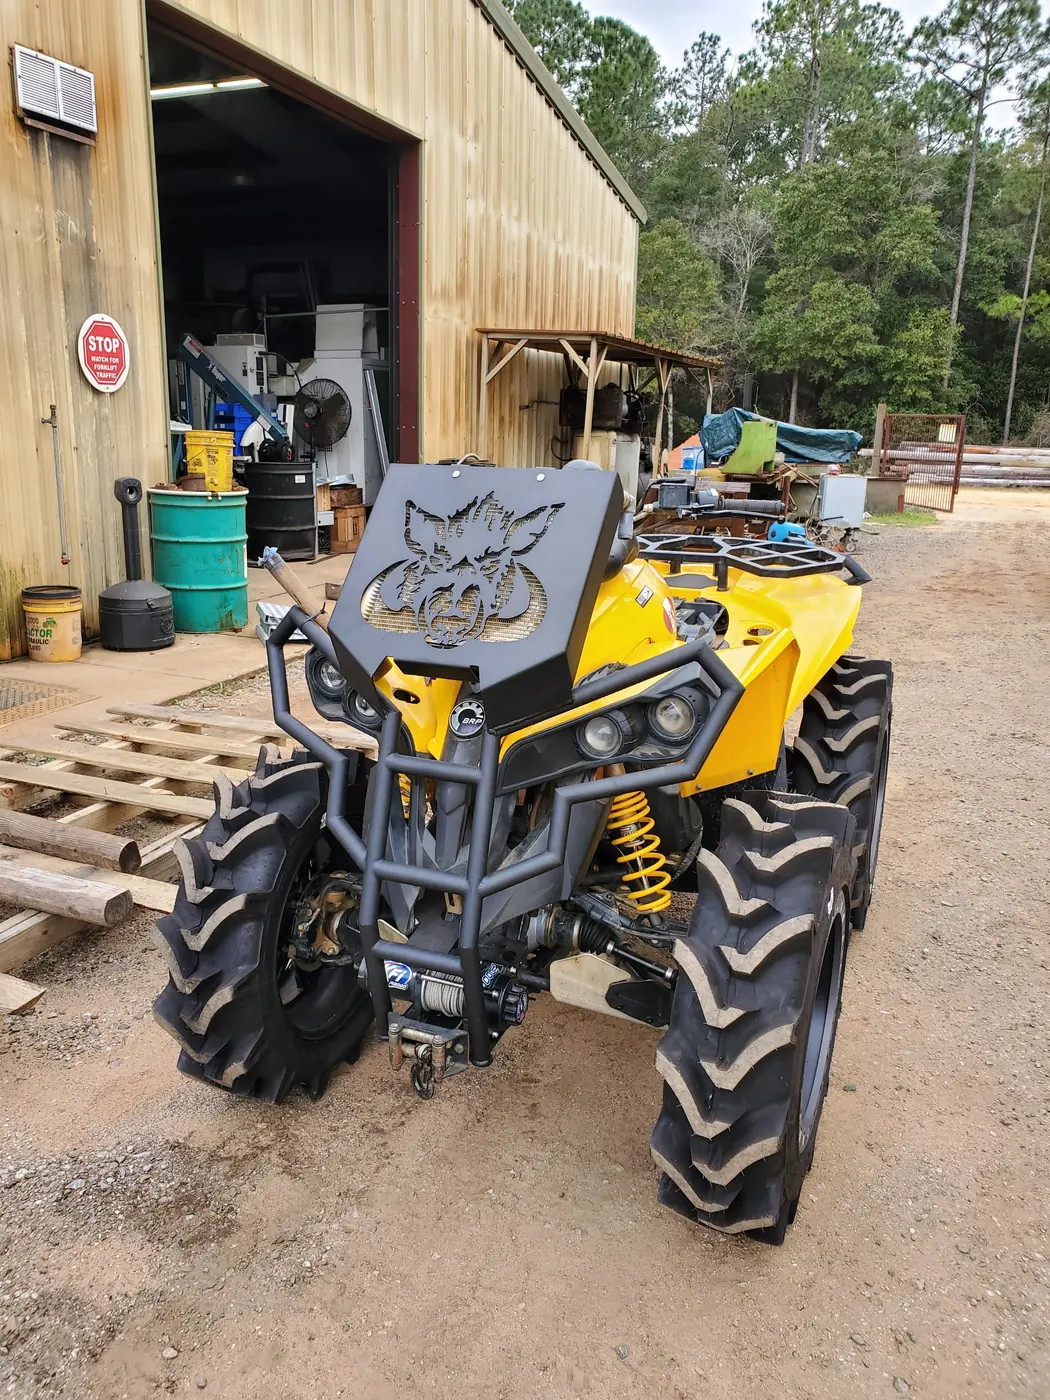
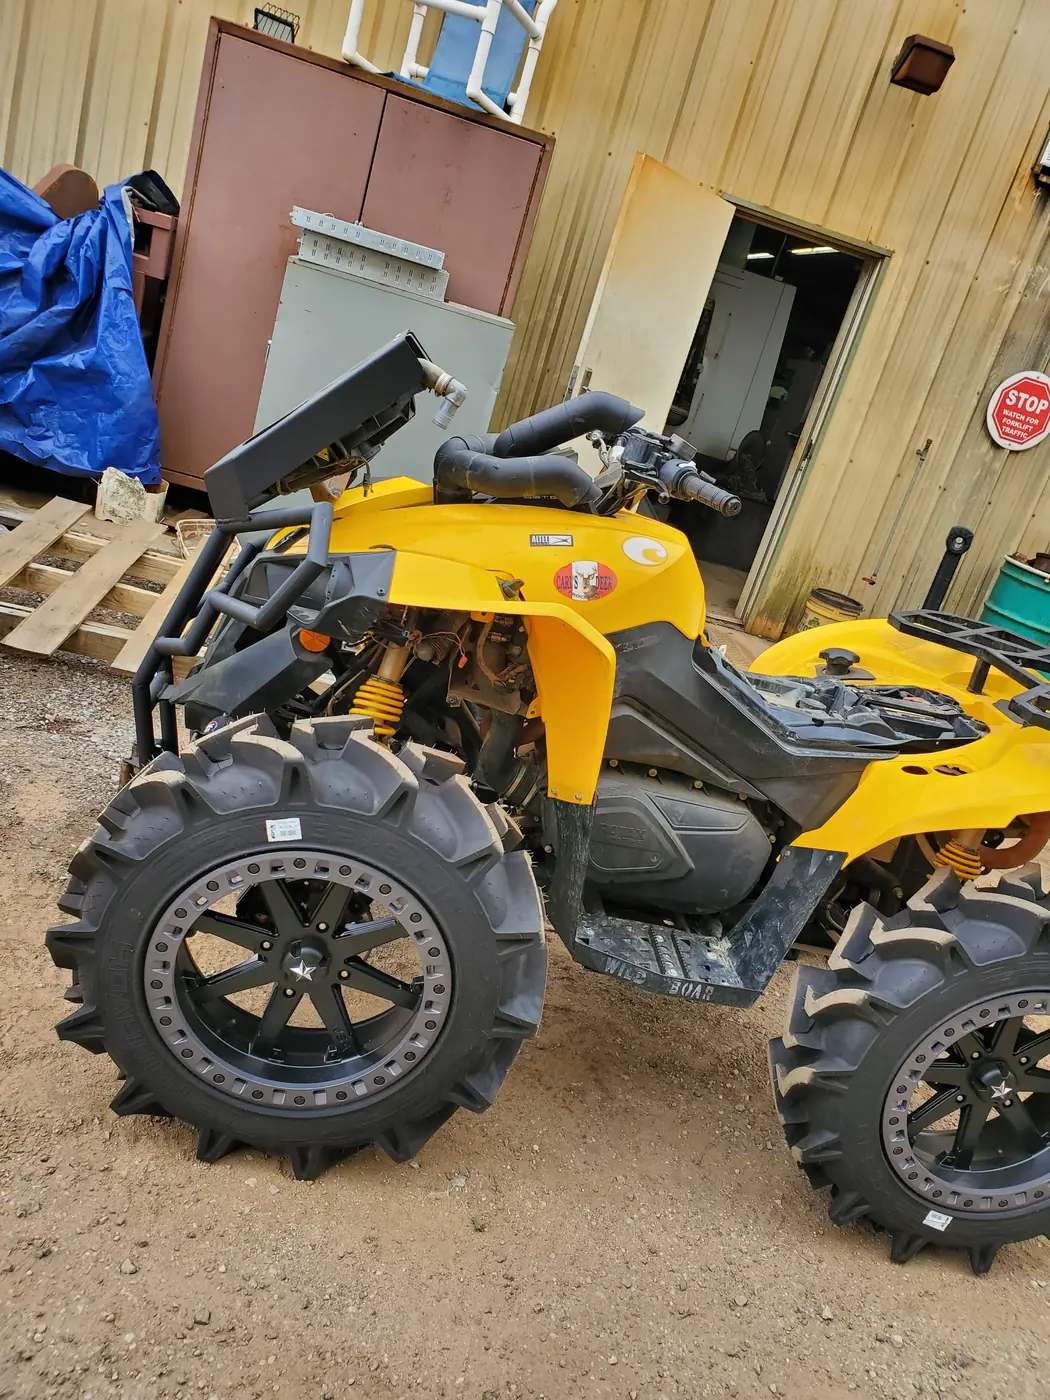
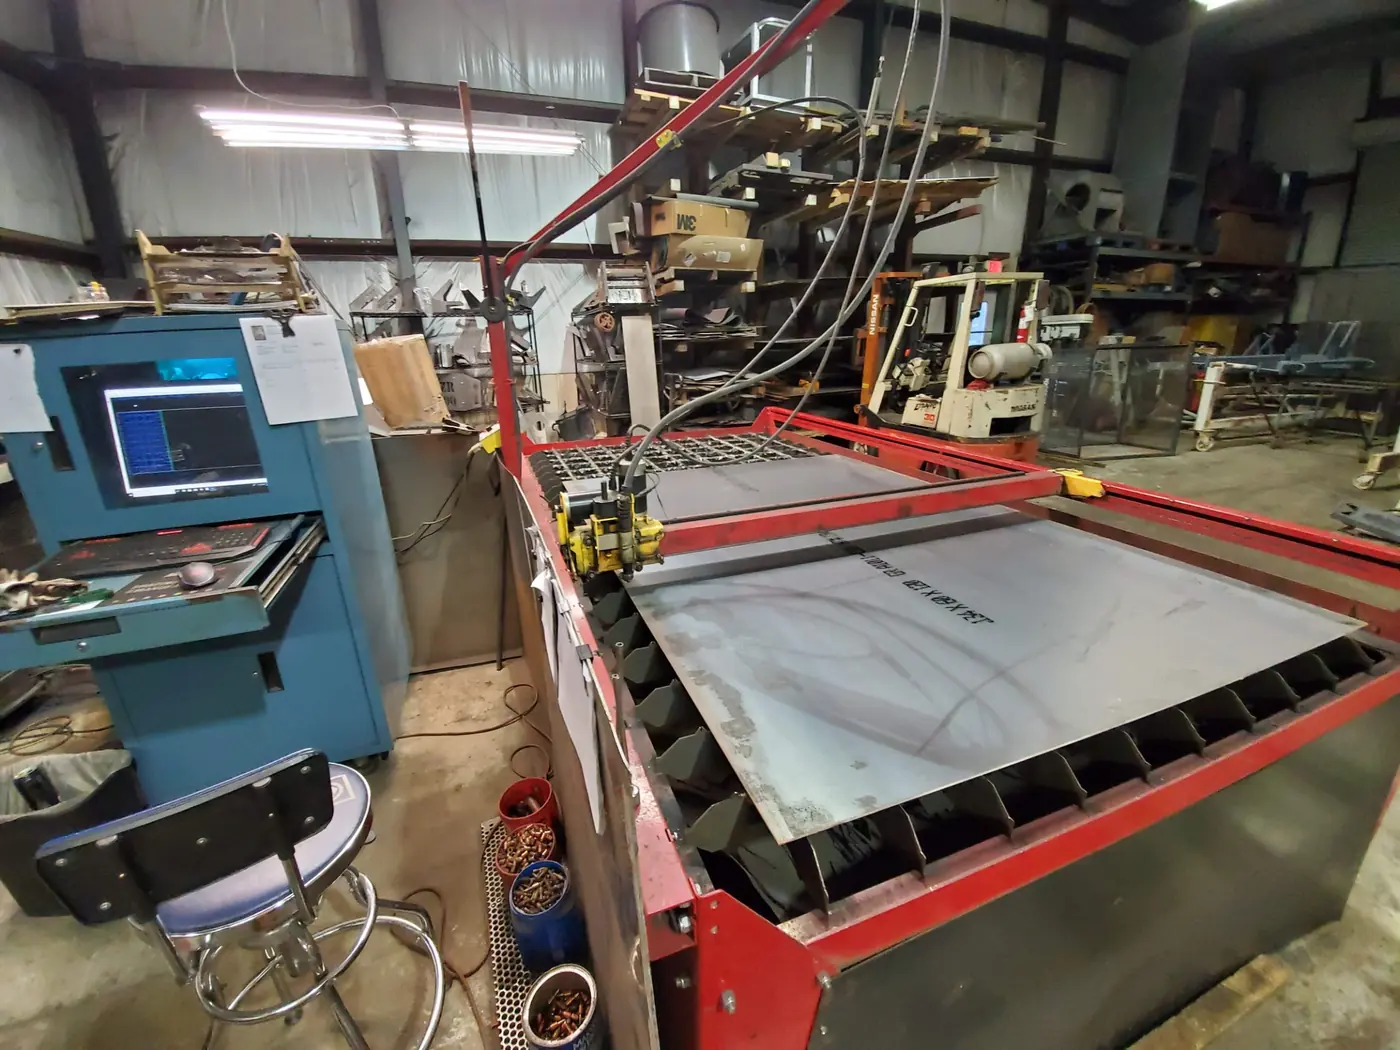
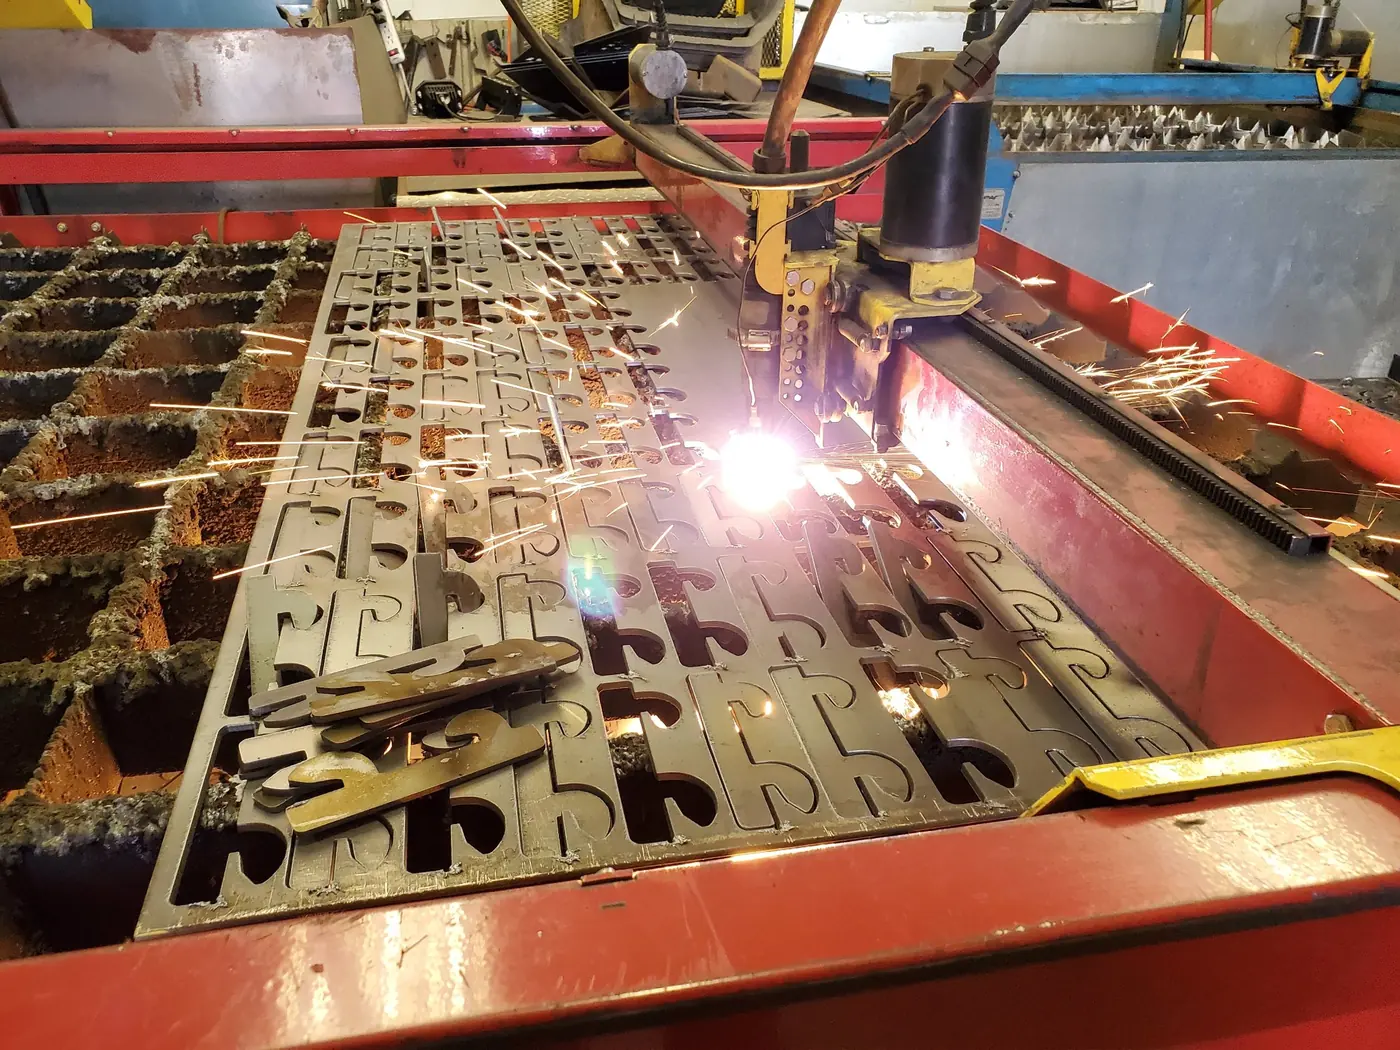
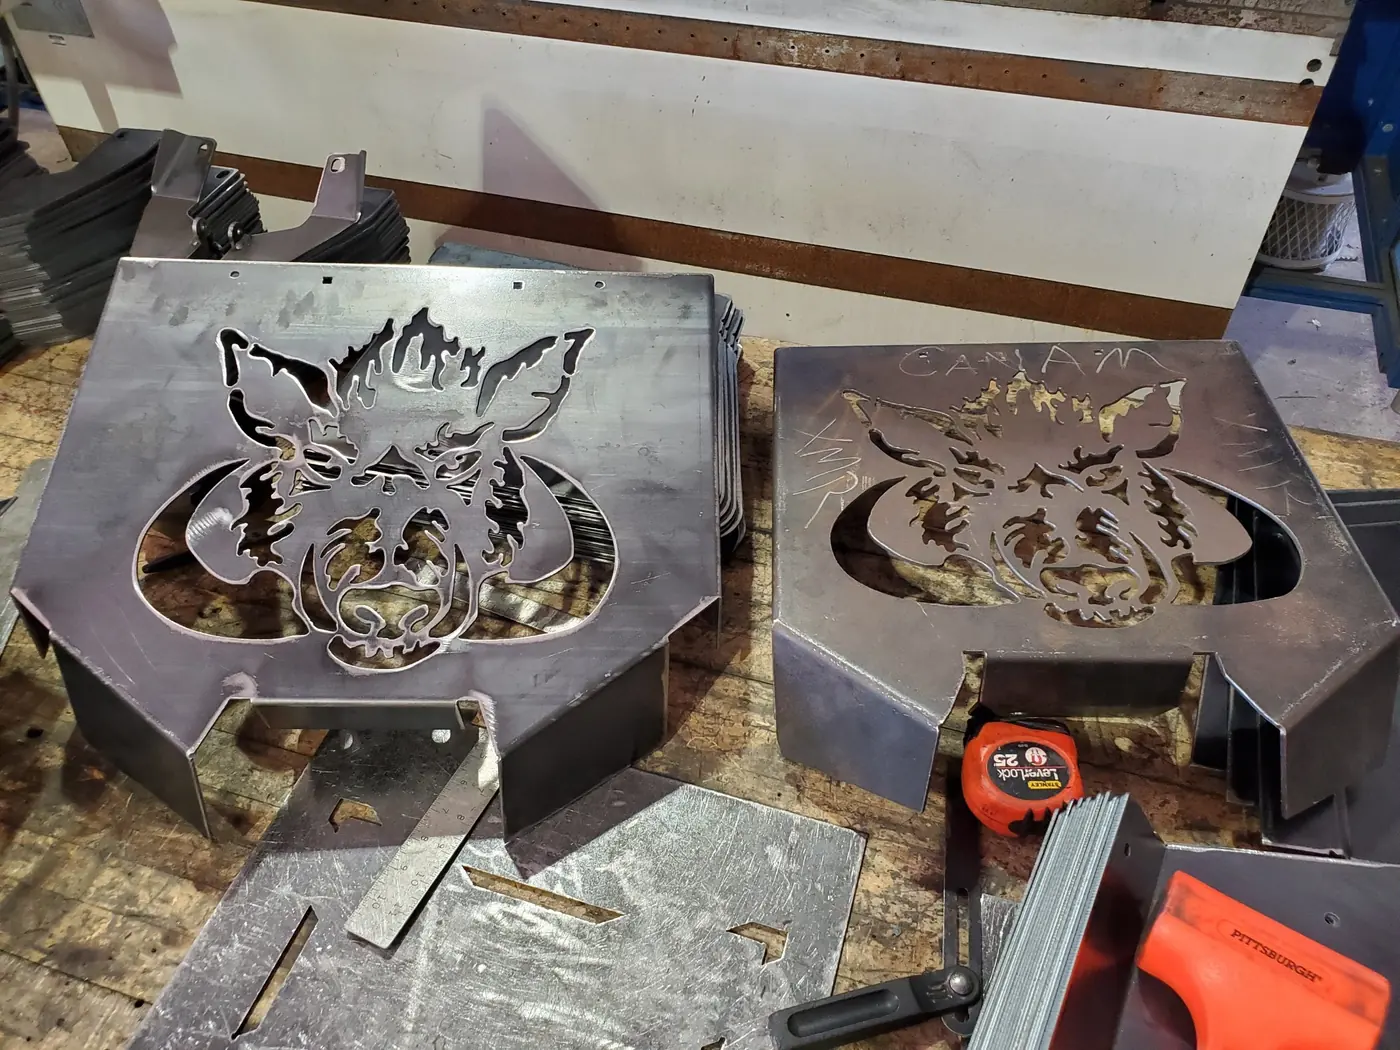
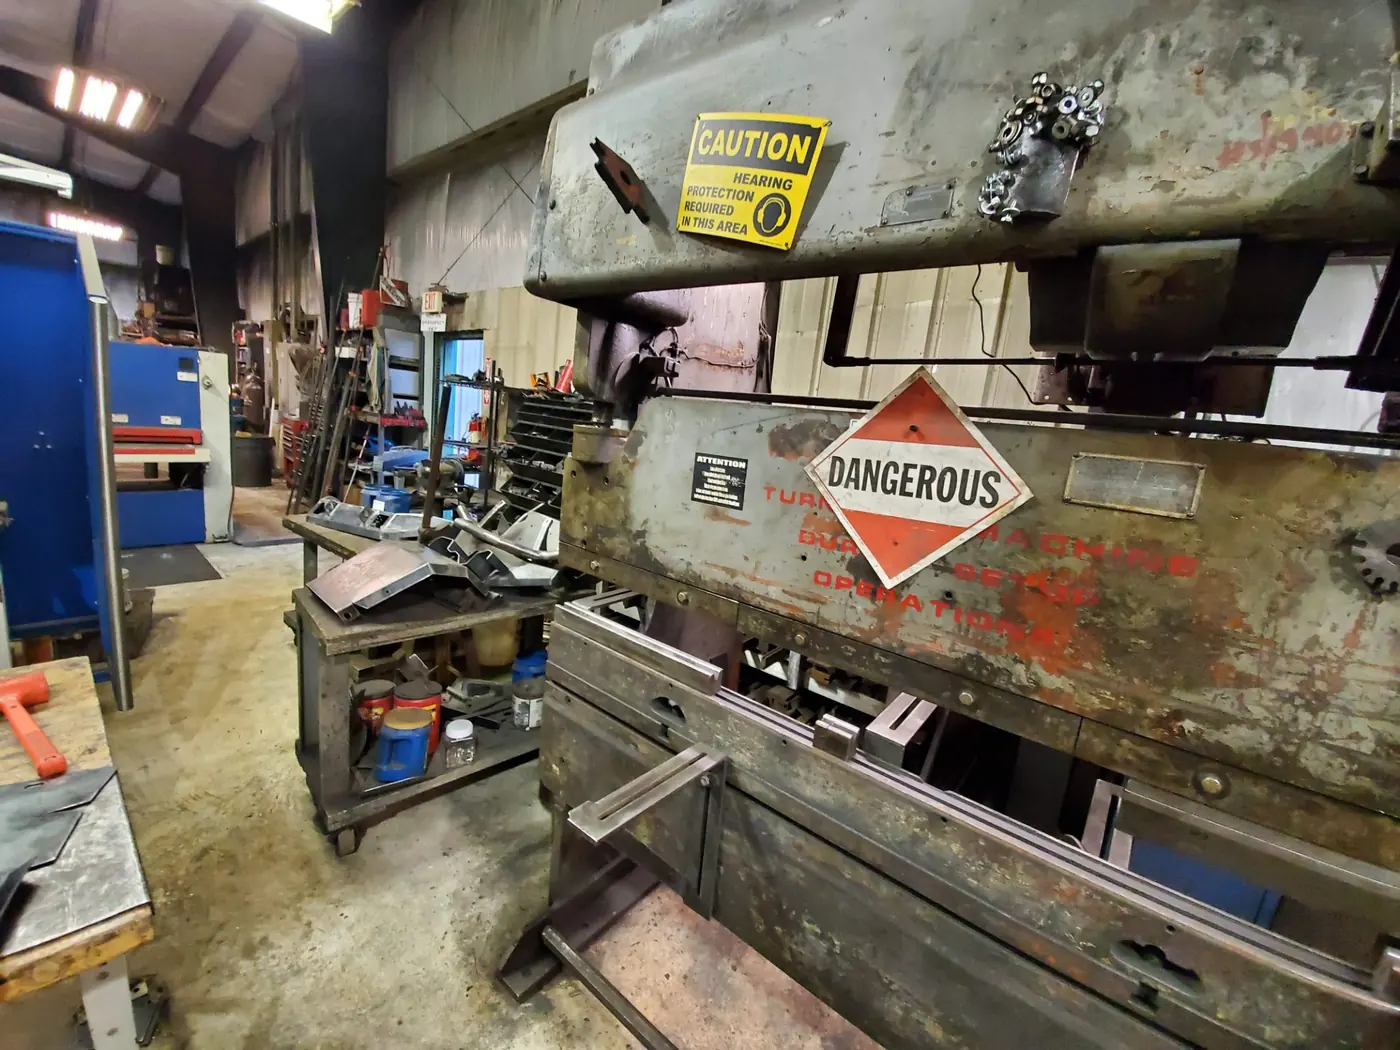
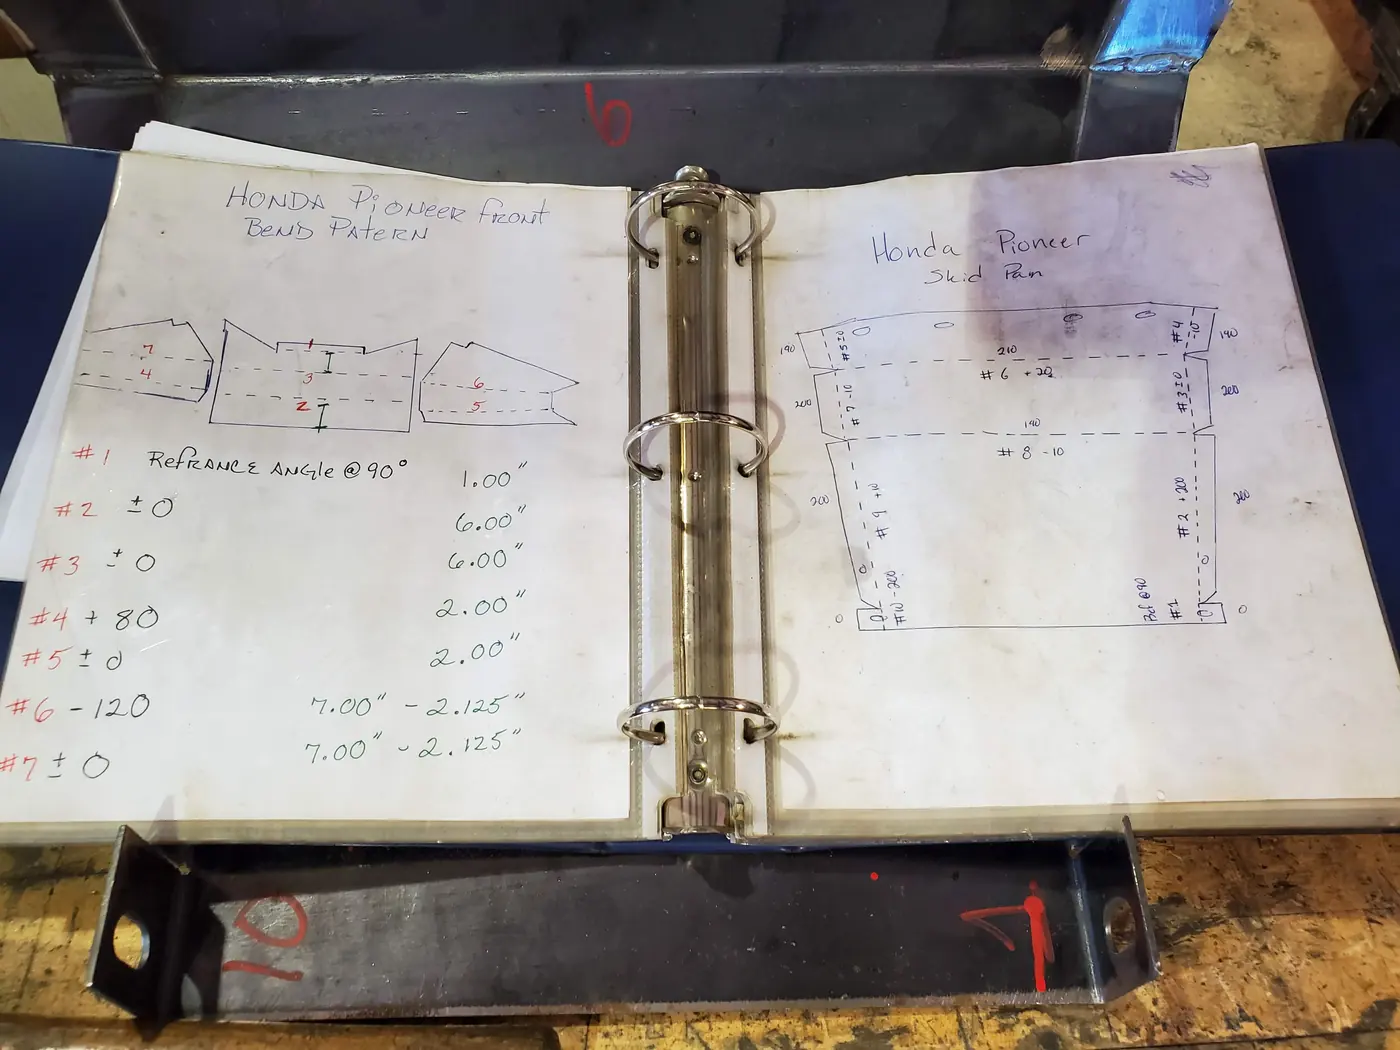
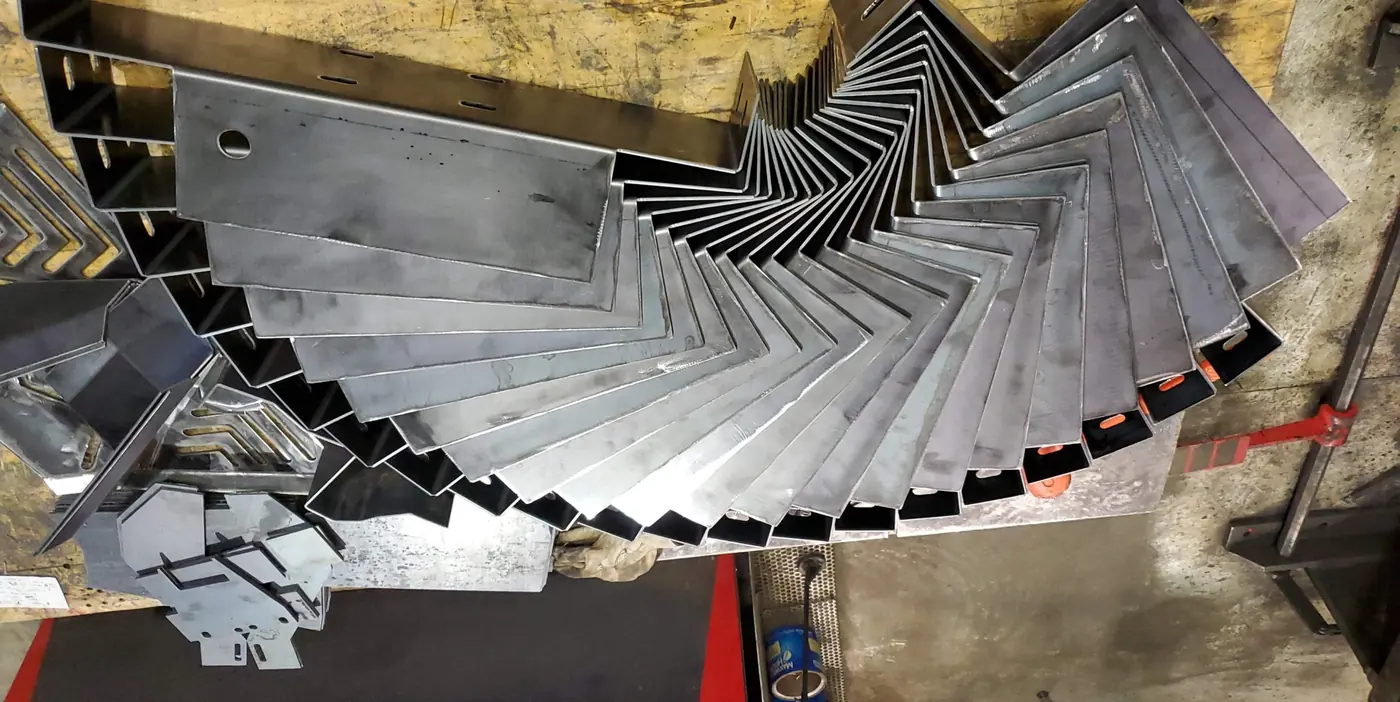
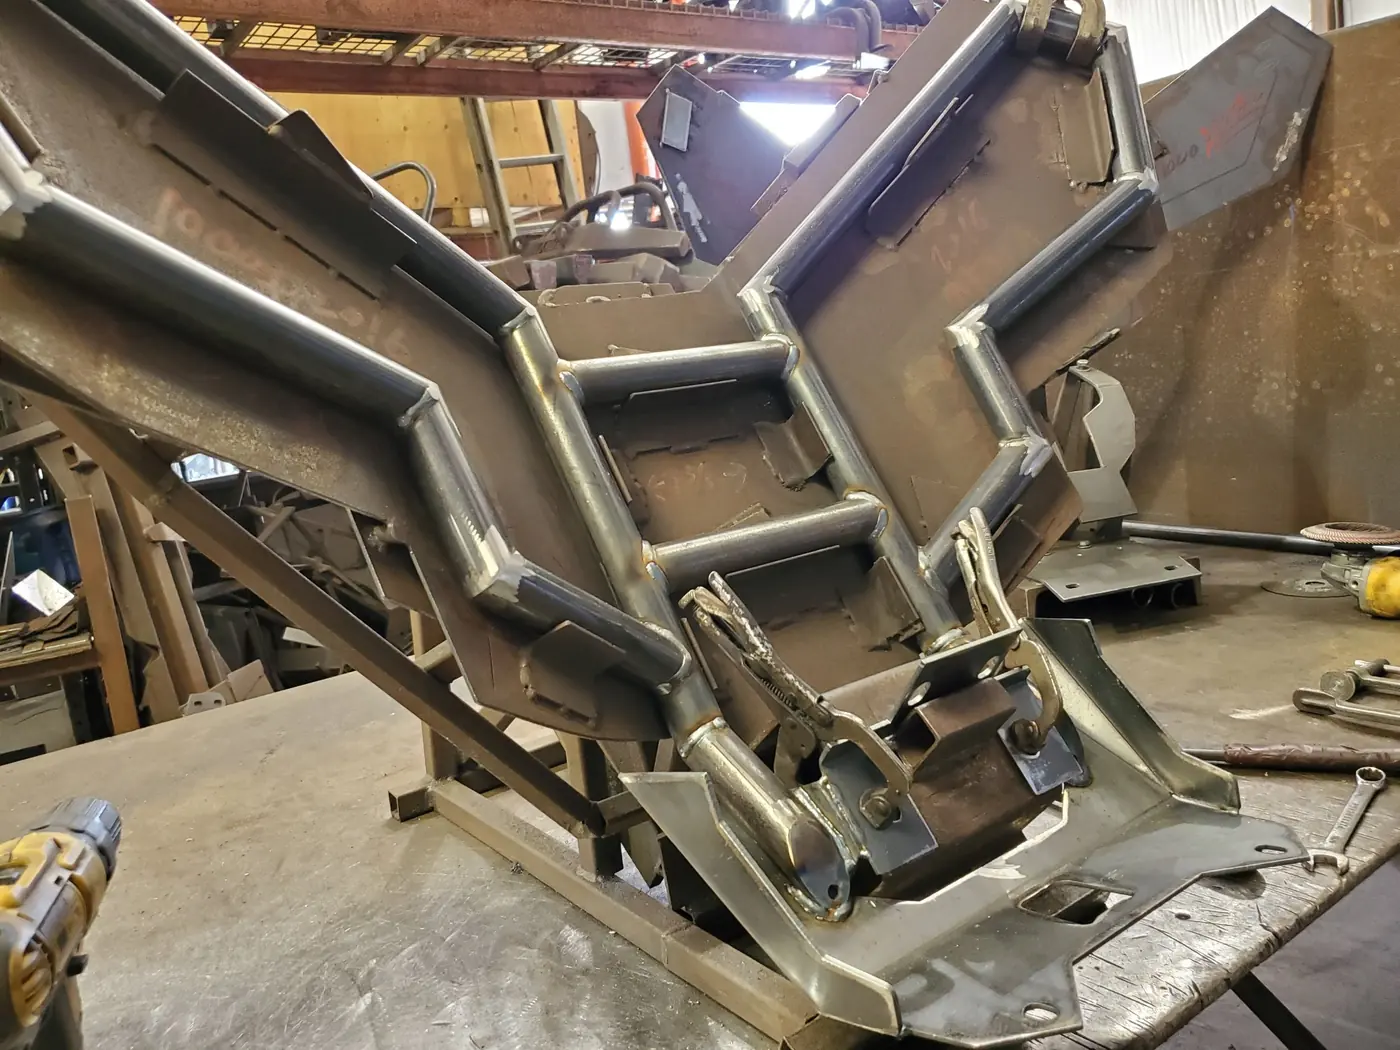
I worked for Quality Assurance Machining & Design, a contract manufacturer that built custom parts at scale and supplied them wholesale to Wild Boar. I designed the parts in Design Edge and AutoCAD, loaded sheet onto the plasma table with the forklift, cut every part, and formed them on a manual hydraulic press brake. To make each bend repeatable, I built backstop jigs and wrote a bend page for every part.
Parts built for Wild Boar
Bumpers · guards · skid plates · floorboards · supplied wholesaleFinished
InstalledPowder coated and on the machine.
Cut
Step 1Sheet loaded with the forklift and cut on the plasma table.
Form
Step 2Formed on a manual hydraulic press brake, set up with backstop jigs and bend pages so any run could be repeated.
Weld
Step 3Welded on fixtures and built in production runs.
Contact
I work full time as a CAD detailer at GES and still cut on my own table for personal projects.